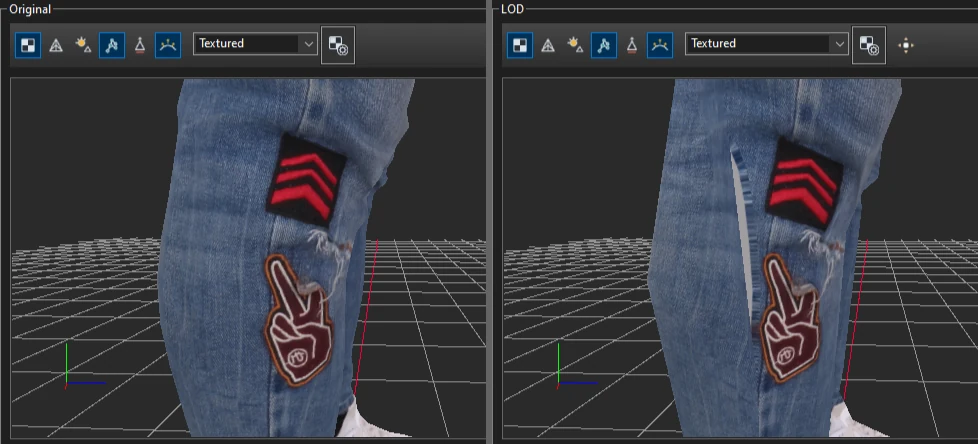
When island outlines move during simplification, low LODs read texture from outside the
painted area. This example finds those areas on LOD 4 of a scanned character and fills them with both
available algorithms.
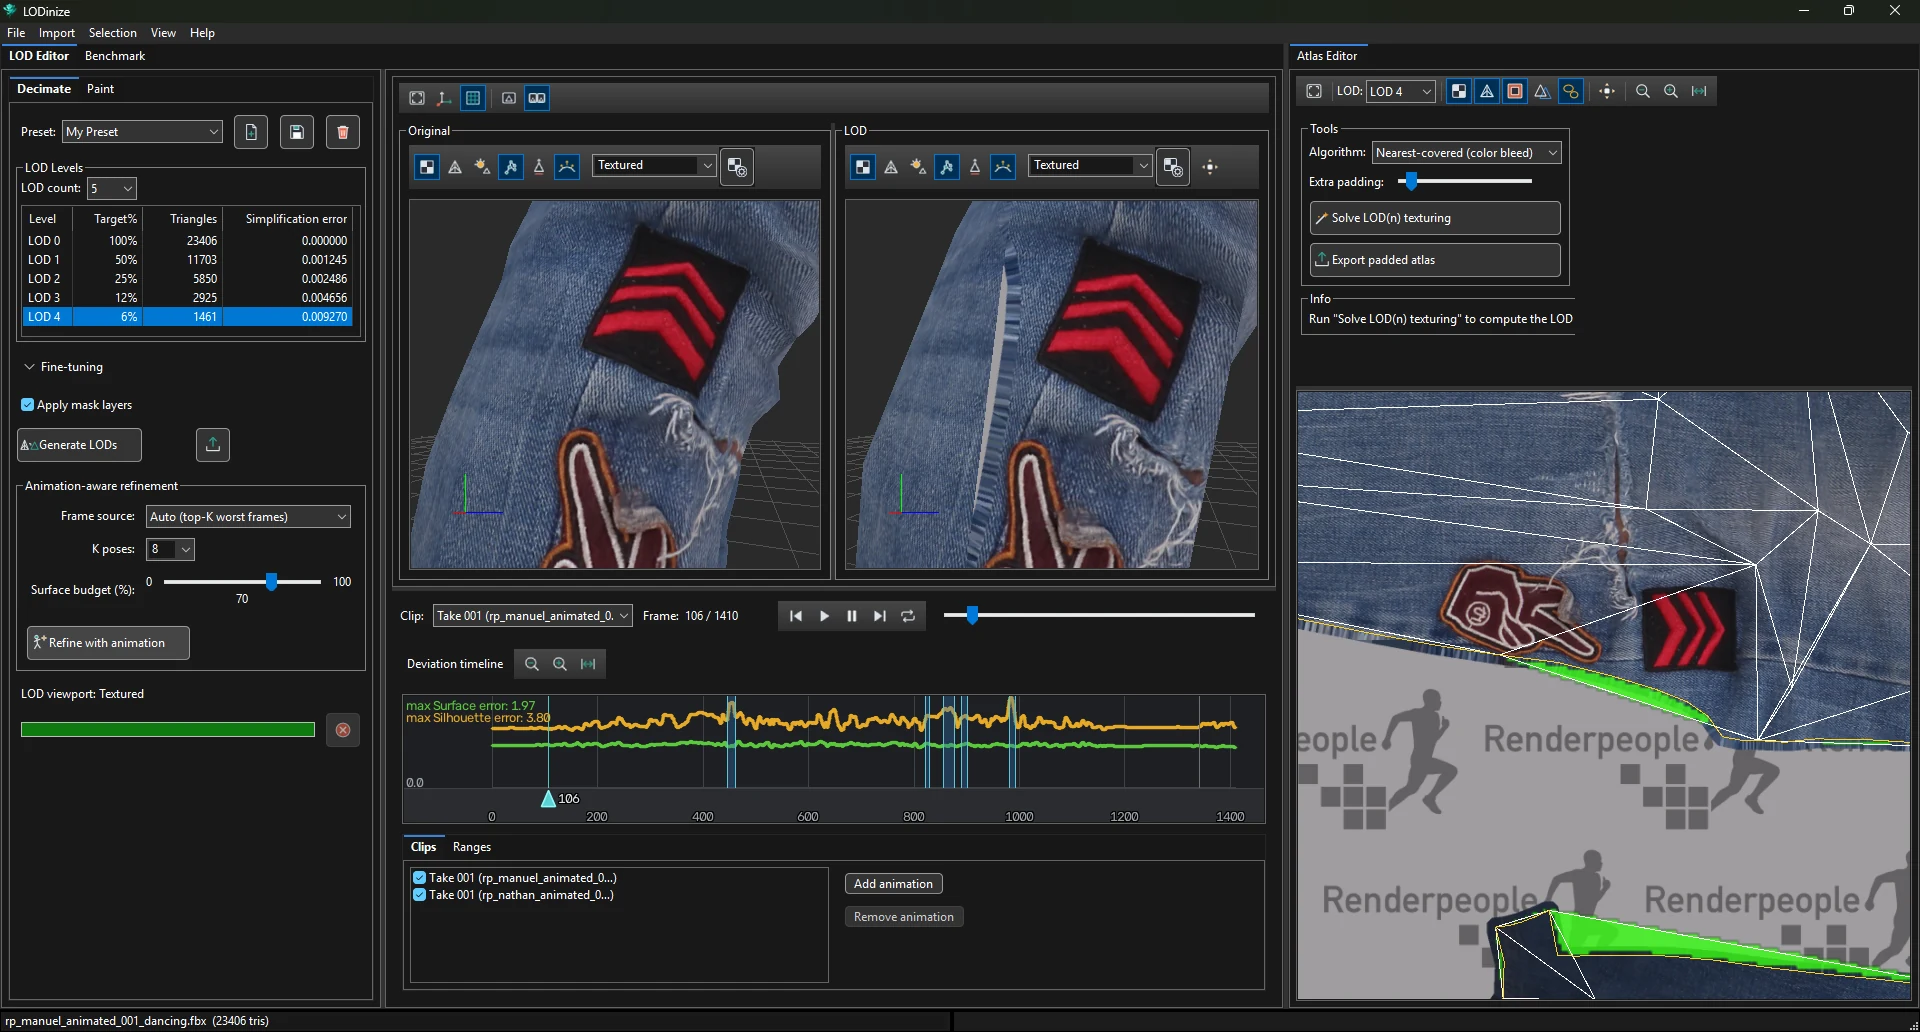
Arrange the views. Dock the Atlas Editor next to the LOD Editor, and set both viewports to show the
texture so you can see the effect on the mesh. With Lights off you see the texture as it
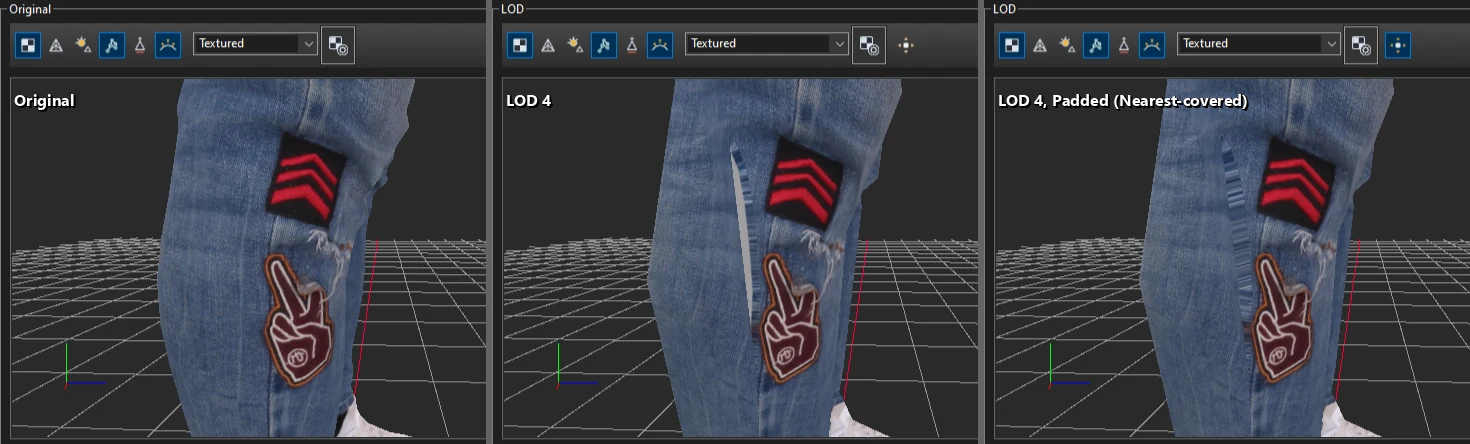
is. Here LOD 4 shows a grey strip beside the patches, where it reads background.
Show the problem. In the Atlas Editor toolbar choose the LOD (here LOD 4) and turn on
Difference. Bright green marks texture the LOD samples outside the original islands.
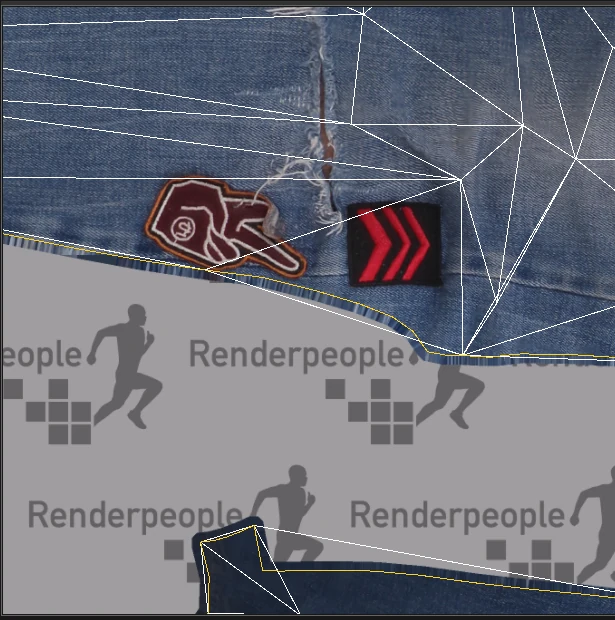
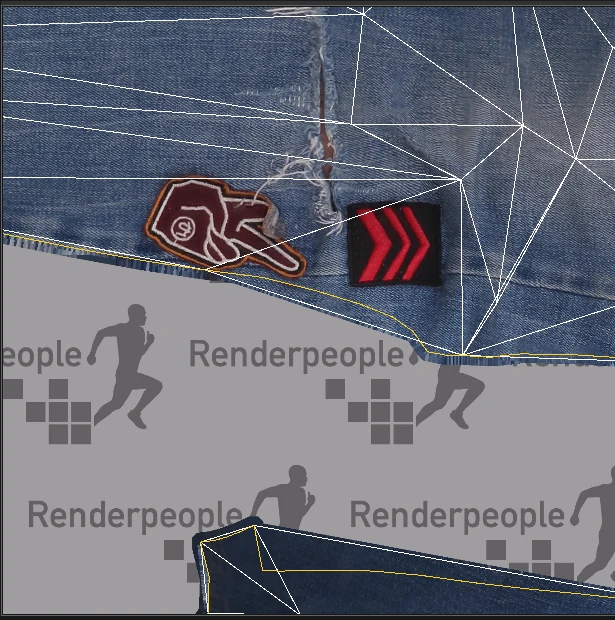
Understand it. Turn off Difference and turn on the LOD0 overlay:
the gap between the yellow (original) and white (LOD) outlines lies on unpainted background.
Solve. Pick an Algorithm and click Solve LOD(n) texturing.
The Info panel reports the share of the LOD's texels that sampled background, before
and after.
Compare. Try the other algorithm and look at both results at the distance the LOD will be seen from.
Algorithm
Background texels
Band
Look up close
Nearest-covered (color bleed)
2.4 % → 0.0 %
104 px
covers everything; streaky edges
Surface re-projection
2.4 % → 0.1 %
8 px
continues the fabric; a tiny remainder
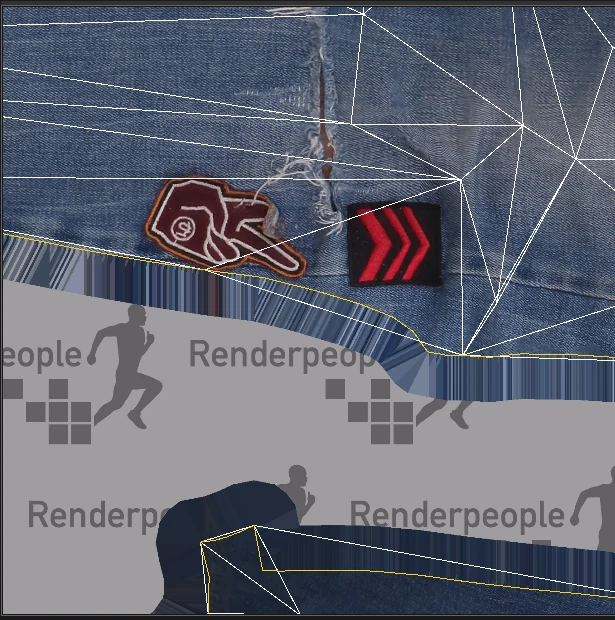
Nearest-covered.Surface re-projection.
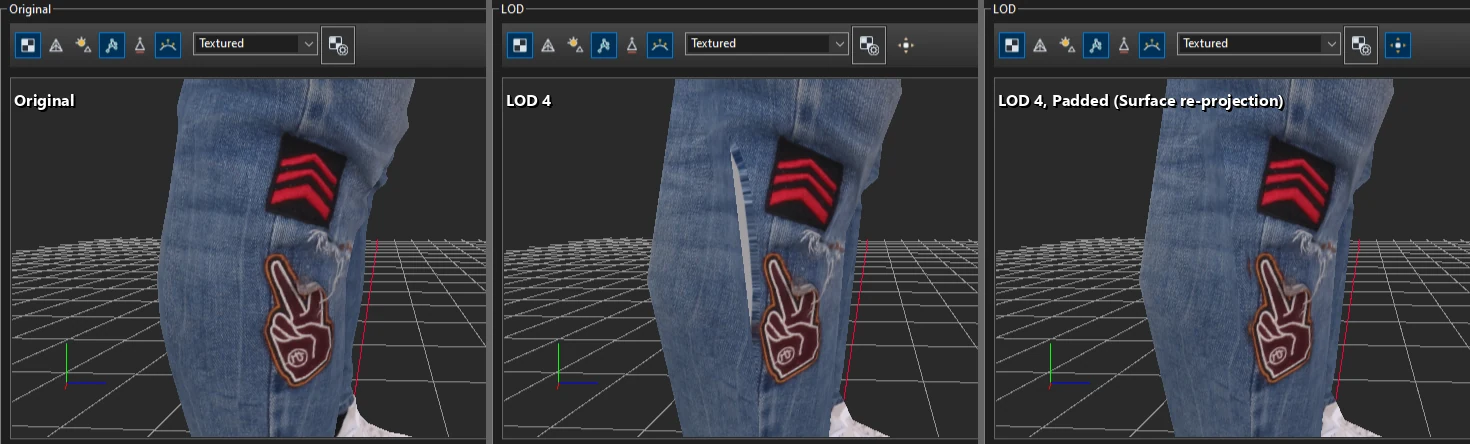
On the mesh, after each solve (the LOD viewport switches Padded on by itself):
Nearest-covered: the strip is covered, with streaks along the edge.Surface re-projection: the fabric continues across the seam.
Use the result. Preview it on the mesh with the LOD viewport's Padded button, then
either Export padded atlas as an image, or tick Use processed (padded)
albedo when exporting the LODs.
Order of work. The repair belongs to a specific LOD geometry. Finish generating, masking
and refining first; after any of those, solve again.