LODinize Helpv1.0

Getting started

A short tour of the window, followed by the shortest path from a character file to exported LODs.
On this page

The main window

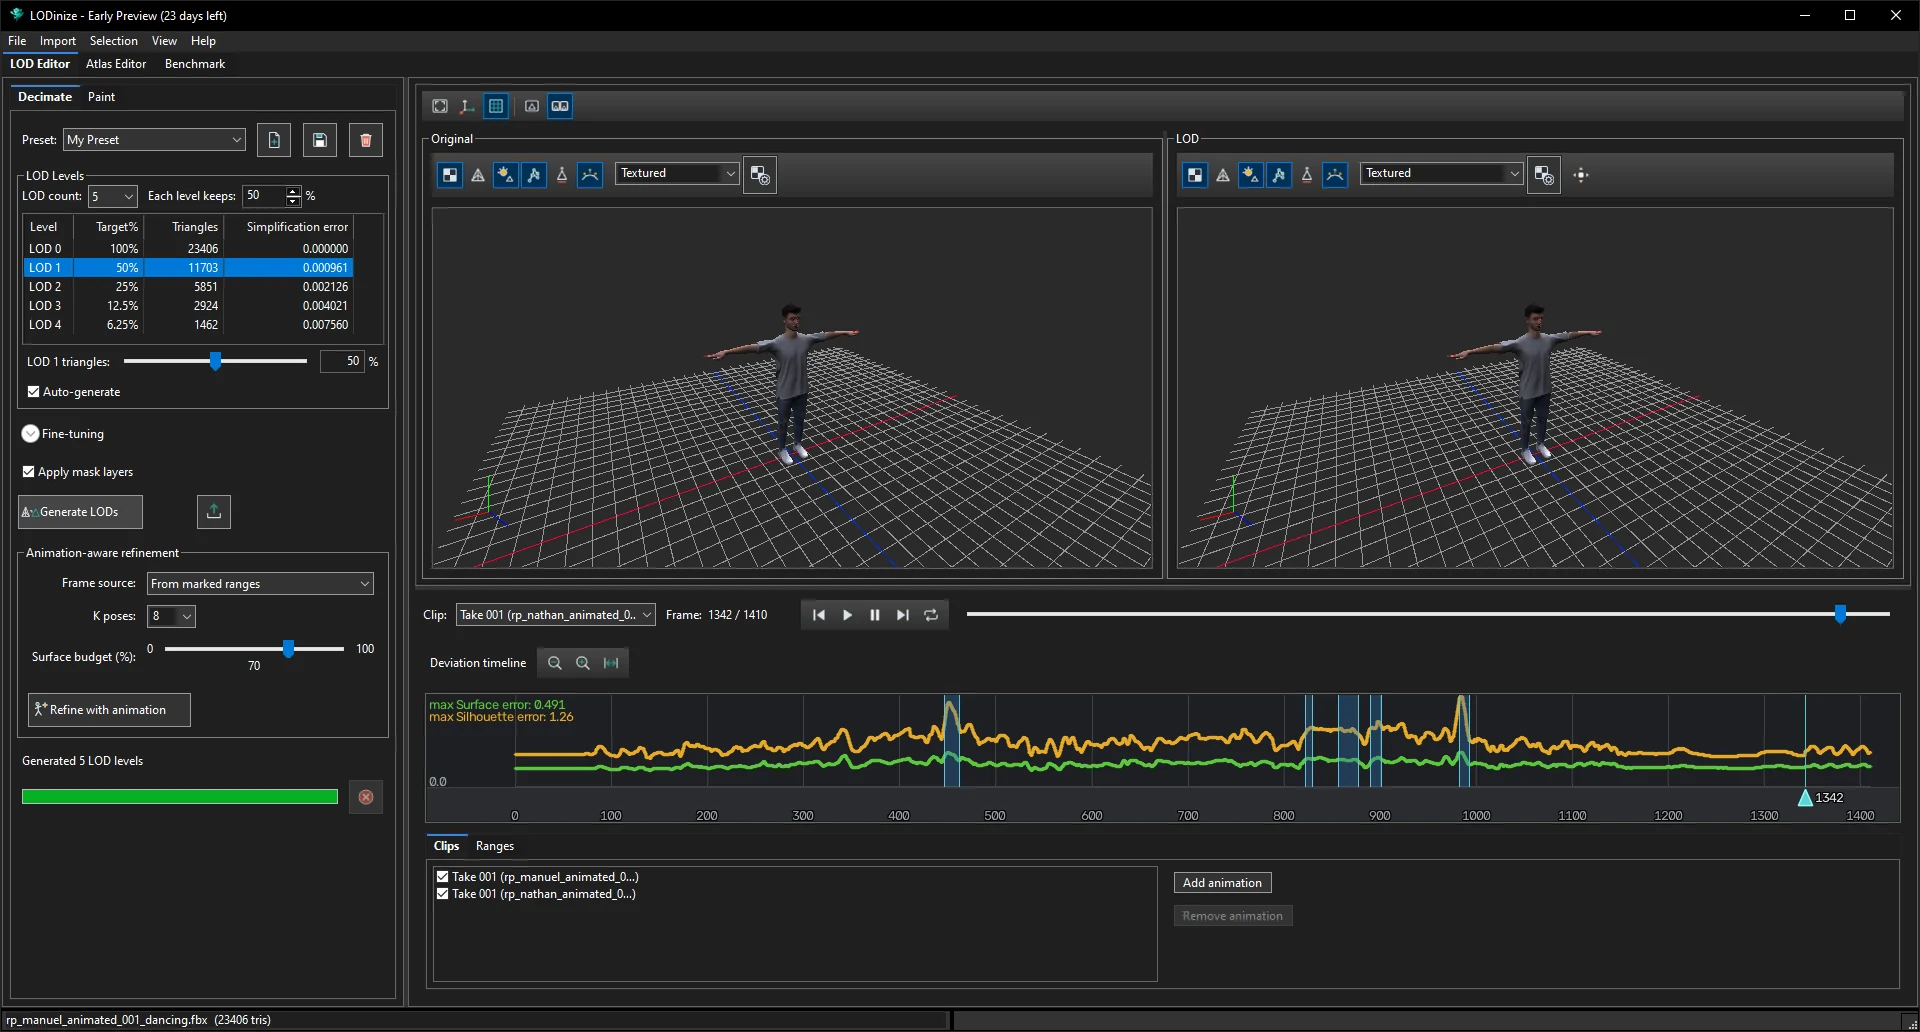
Main window with a loaded character
LOD Editor with a character loaded and five LODs generated.
AreaWhat it is for
Left panel — Decimate / Paint Decimate: presets, the LOD levels (count and each level's target), generation and animation-aware refinement. Paint: mask brushes and mask layers.
Viewports — Original and LOD The original mesh and the LOD selected in the table, sharing one camera. Each has its own toolbar (texturing, wireframe, lights, skeleton, face culling, smooth normals, shading mode).
Playback barClip selector, frame counter, play controls and a frame slider.
Deviation timelineSurface and silhouette error of the selected LOD for every frame of the evaluated clips. Click to jump to a frame; mark frame ranges.
Clips / Ranges Which animations are evaluated, and the frame ranges you have marked.

The three workspaces

The tabs under the menu bar switch between workspaces:

Tabs can be placed side by side: drag a tab (for example Atlas Editor) towards the right edge of the window until a blue drop area appears, then release. This is handy for working on the mesh and the texture atlas at the same time.
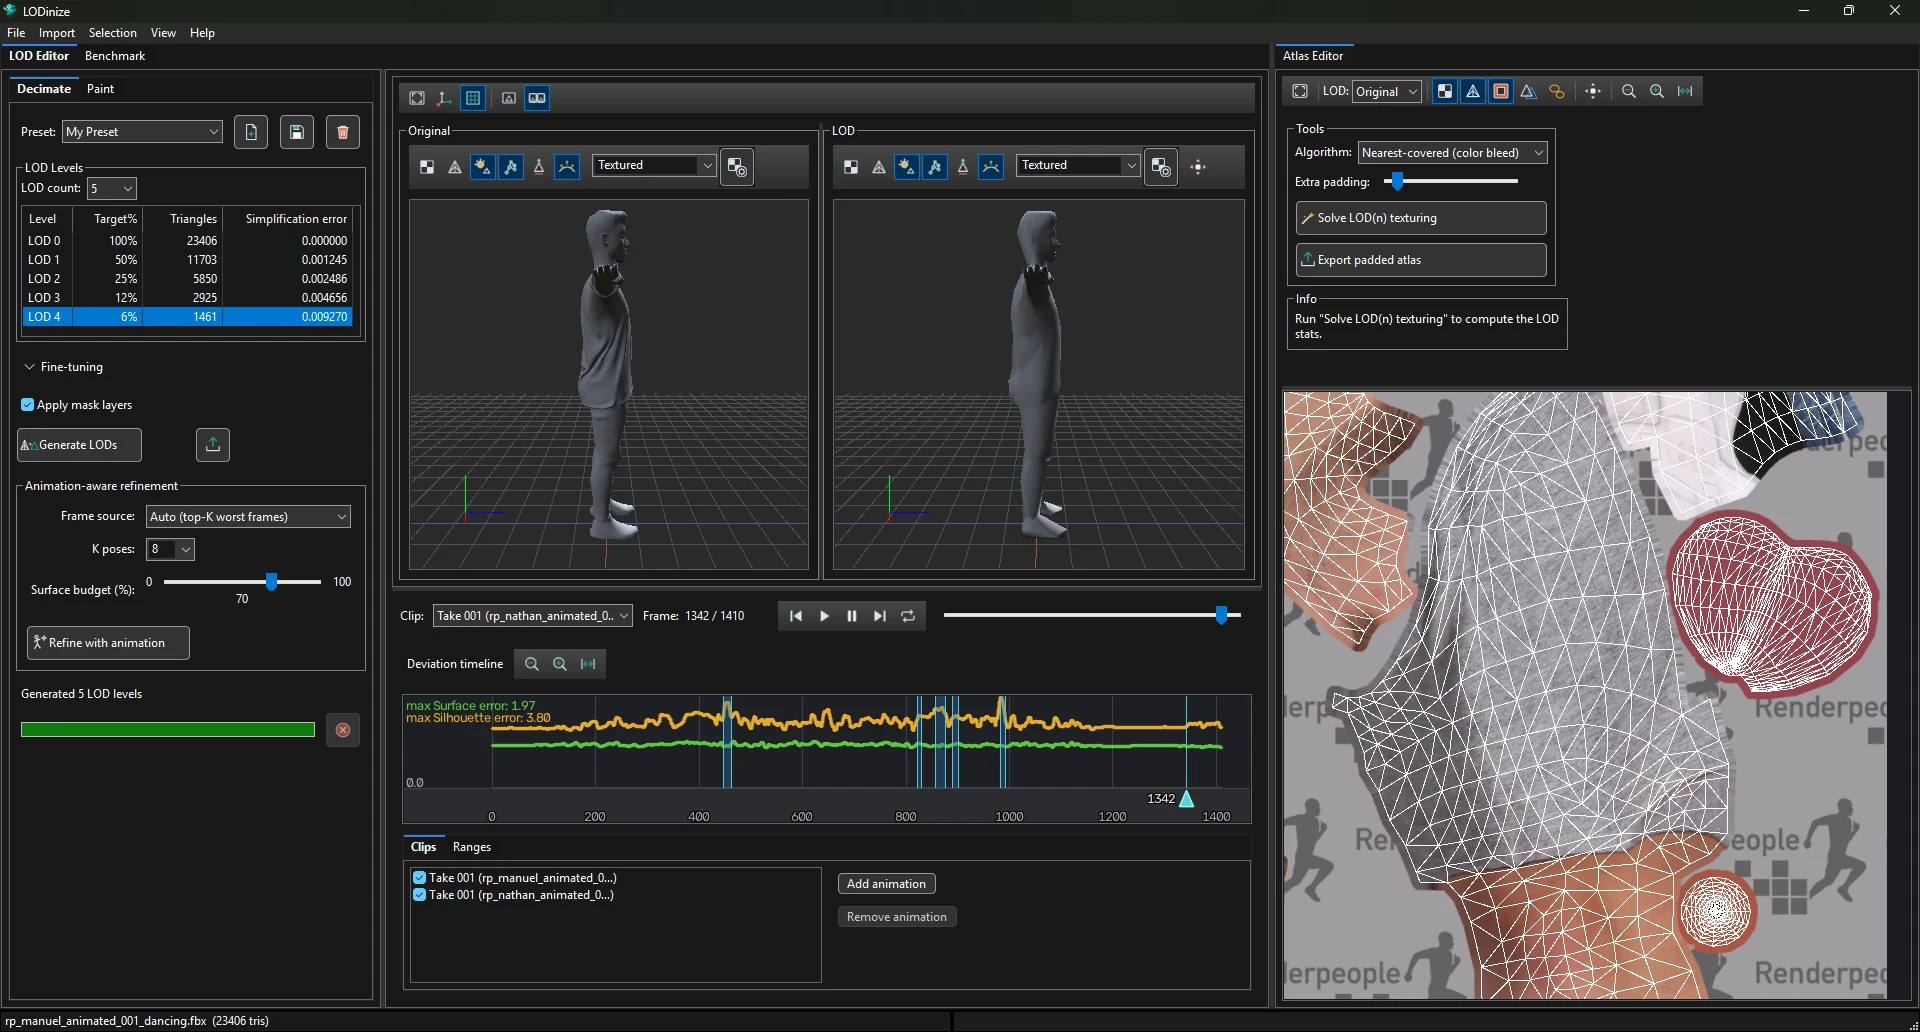
LOD Editor and Atlas Editor side by side
LOD Editor and Atlas Editor docked side by side.
MenuContents
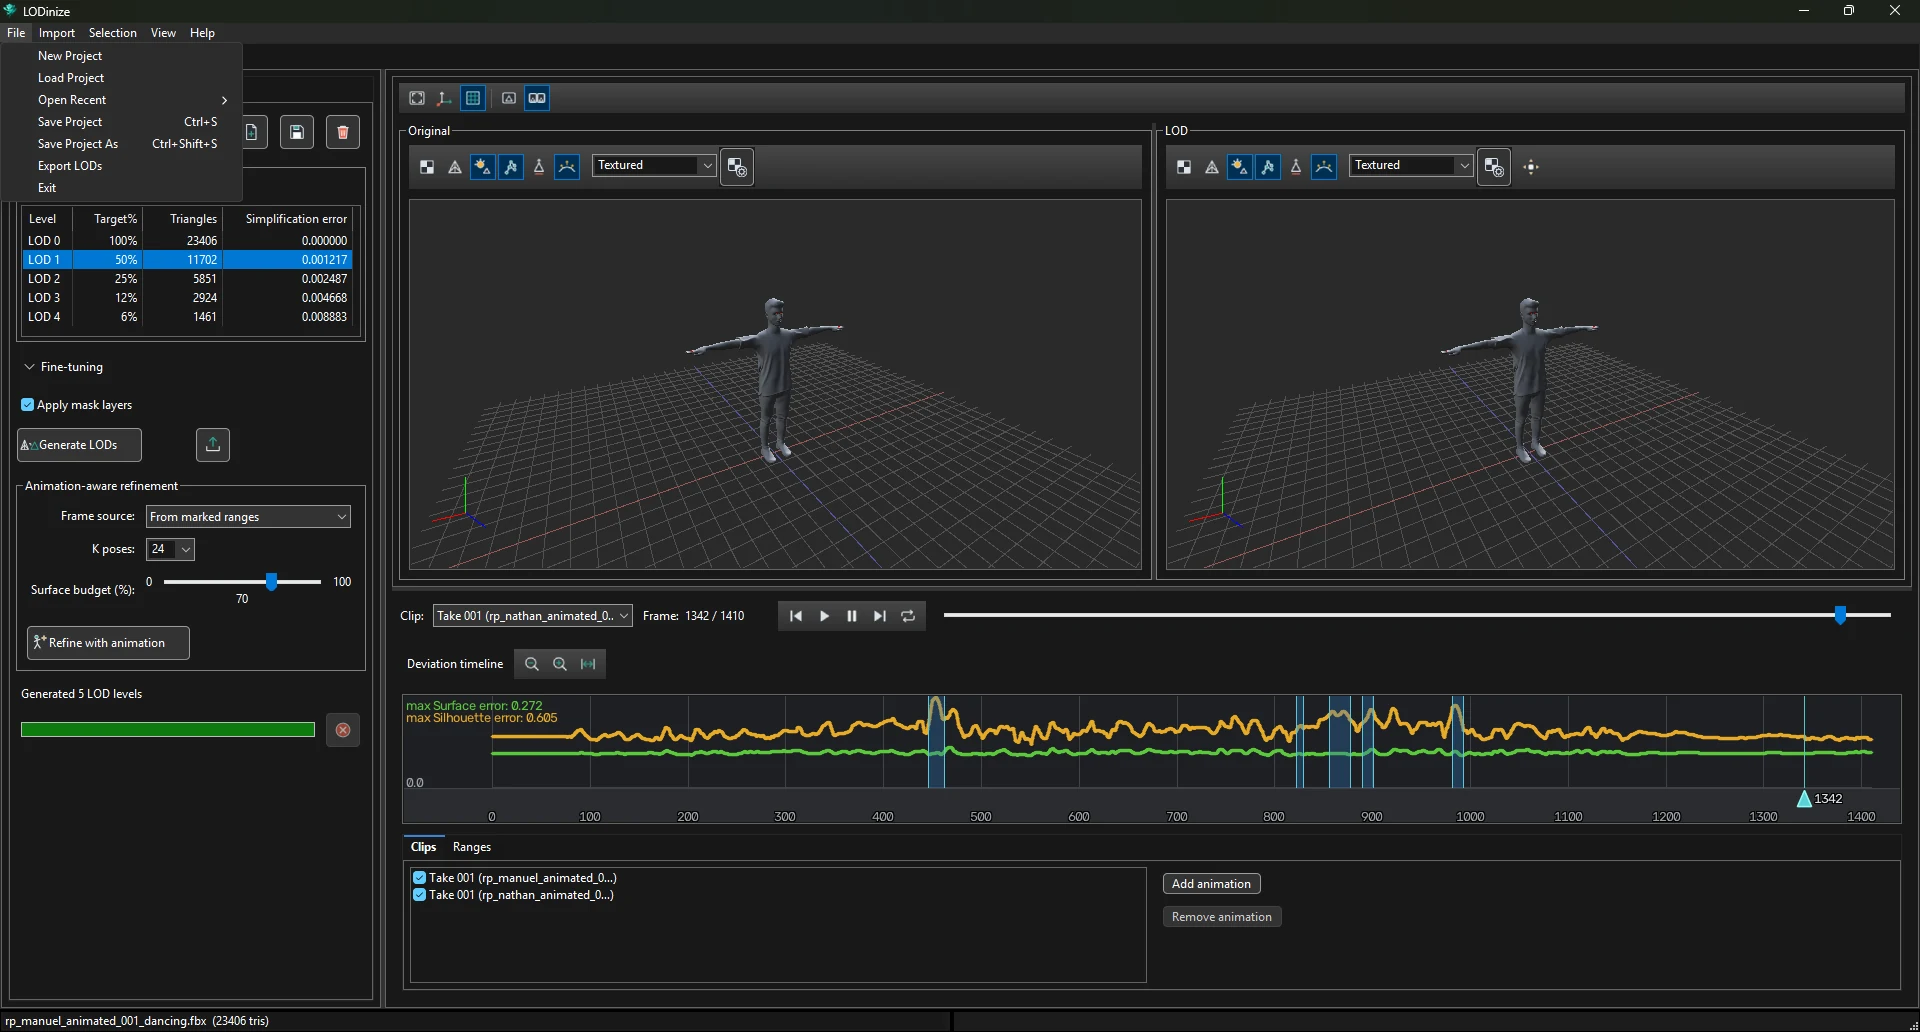
FileNew Project, Load Project, Open Recent, Save Project (Ctrl+S), Save Project As (Ctrl+Shift+S), Export LODs, Exit.
ImportLoad Mesh, Load Animation.
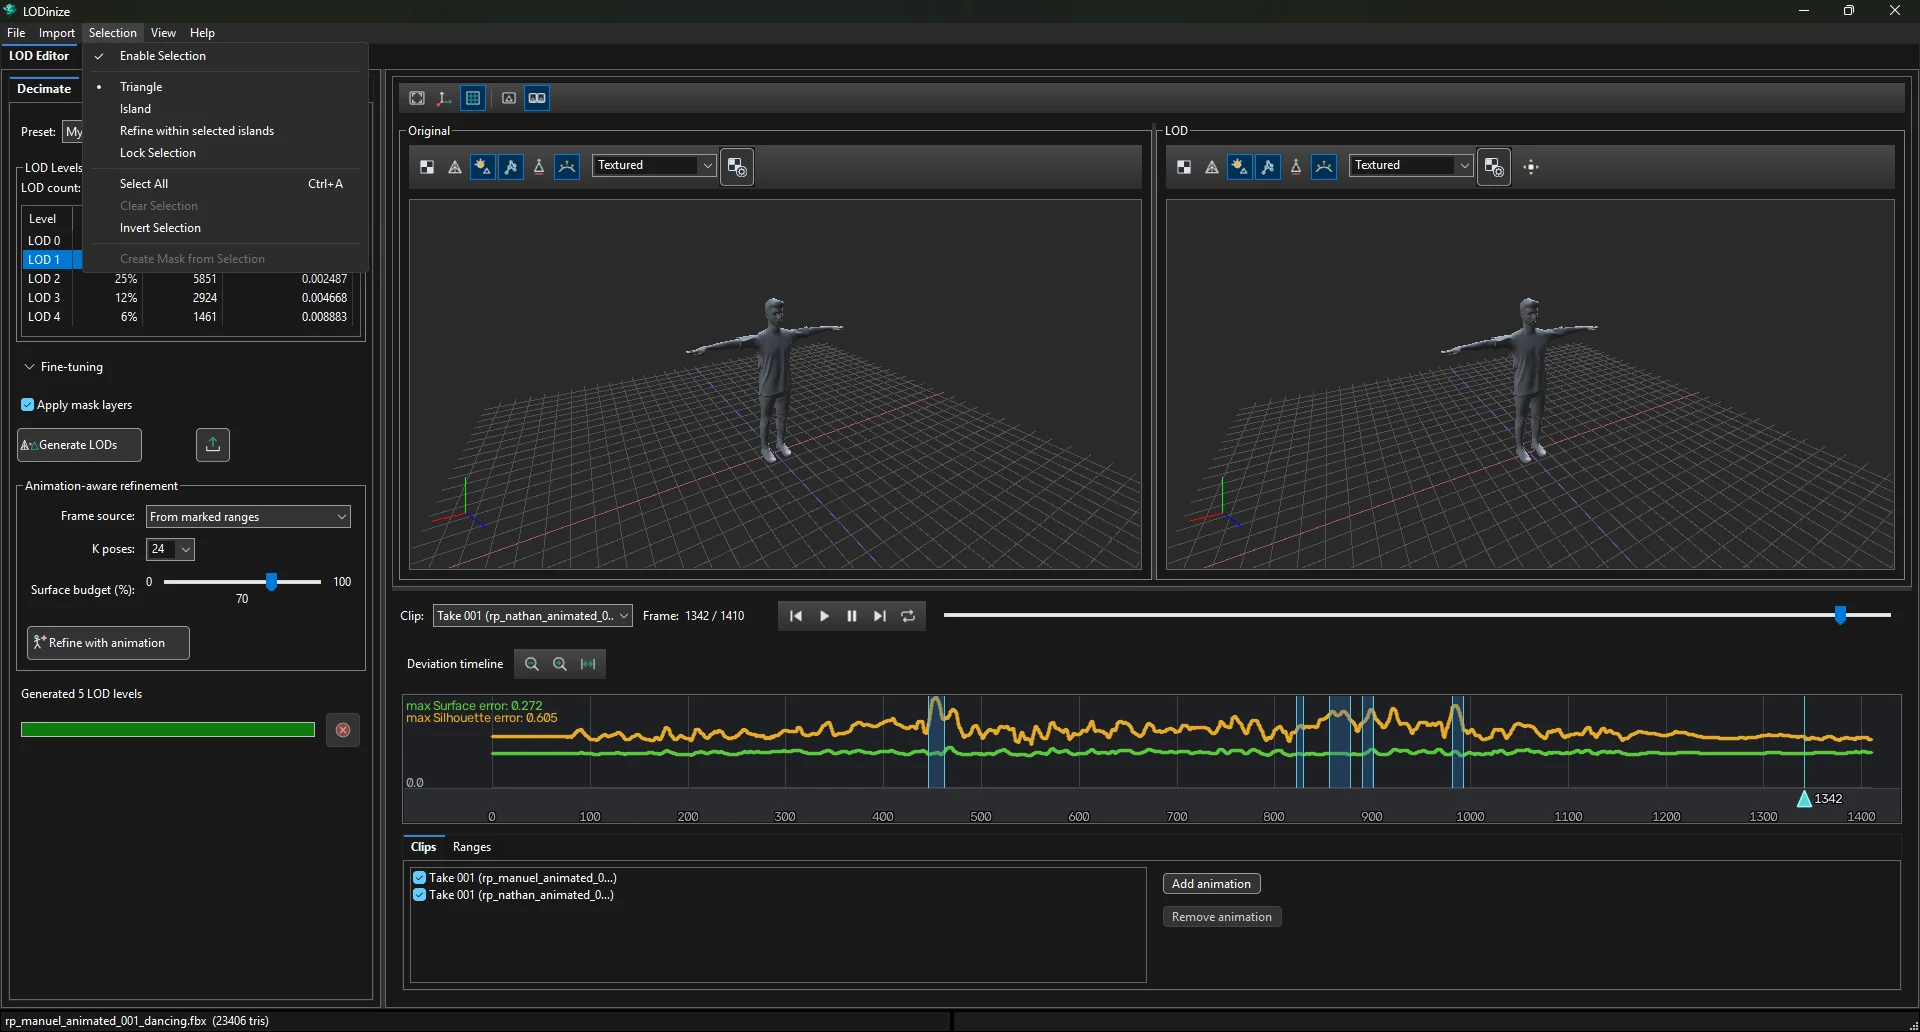
SelectionEnable Selection; Triangle / Island mode; Refine within selected islands; Lock Selection; Select All (Ctrl+A), Clear, Invert; Create Mask from Selection.
ViewSettings.
HelpView Help, About.
File menu
File menu
Selection menu
Selection menu

Your first LODs

  1. Load a character. Import > Load Mesh, pick a skinned FBX. The dialog previews the file and lists its mesh, skeleton, animations and textures before you commit. More about the Load Mesh dialog. No animated character at hand? The free Animated People at renderpeople.com/free-3d-people (FBX format) are the characters used in this help.
  2. Choose the LOD levels. LODinize starts with five levels that each keep 50 % of the previous one. In Decimate, pick a Preset (Mobile, PC, VR Quest or one of your own), or change the LOD count (2–8), Each level keeps, or one level's target. More about the LOD levels.
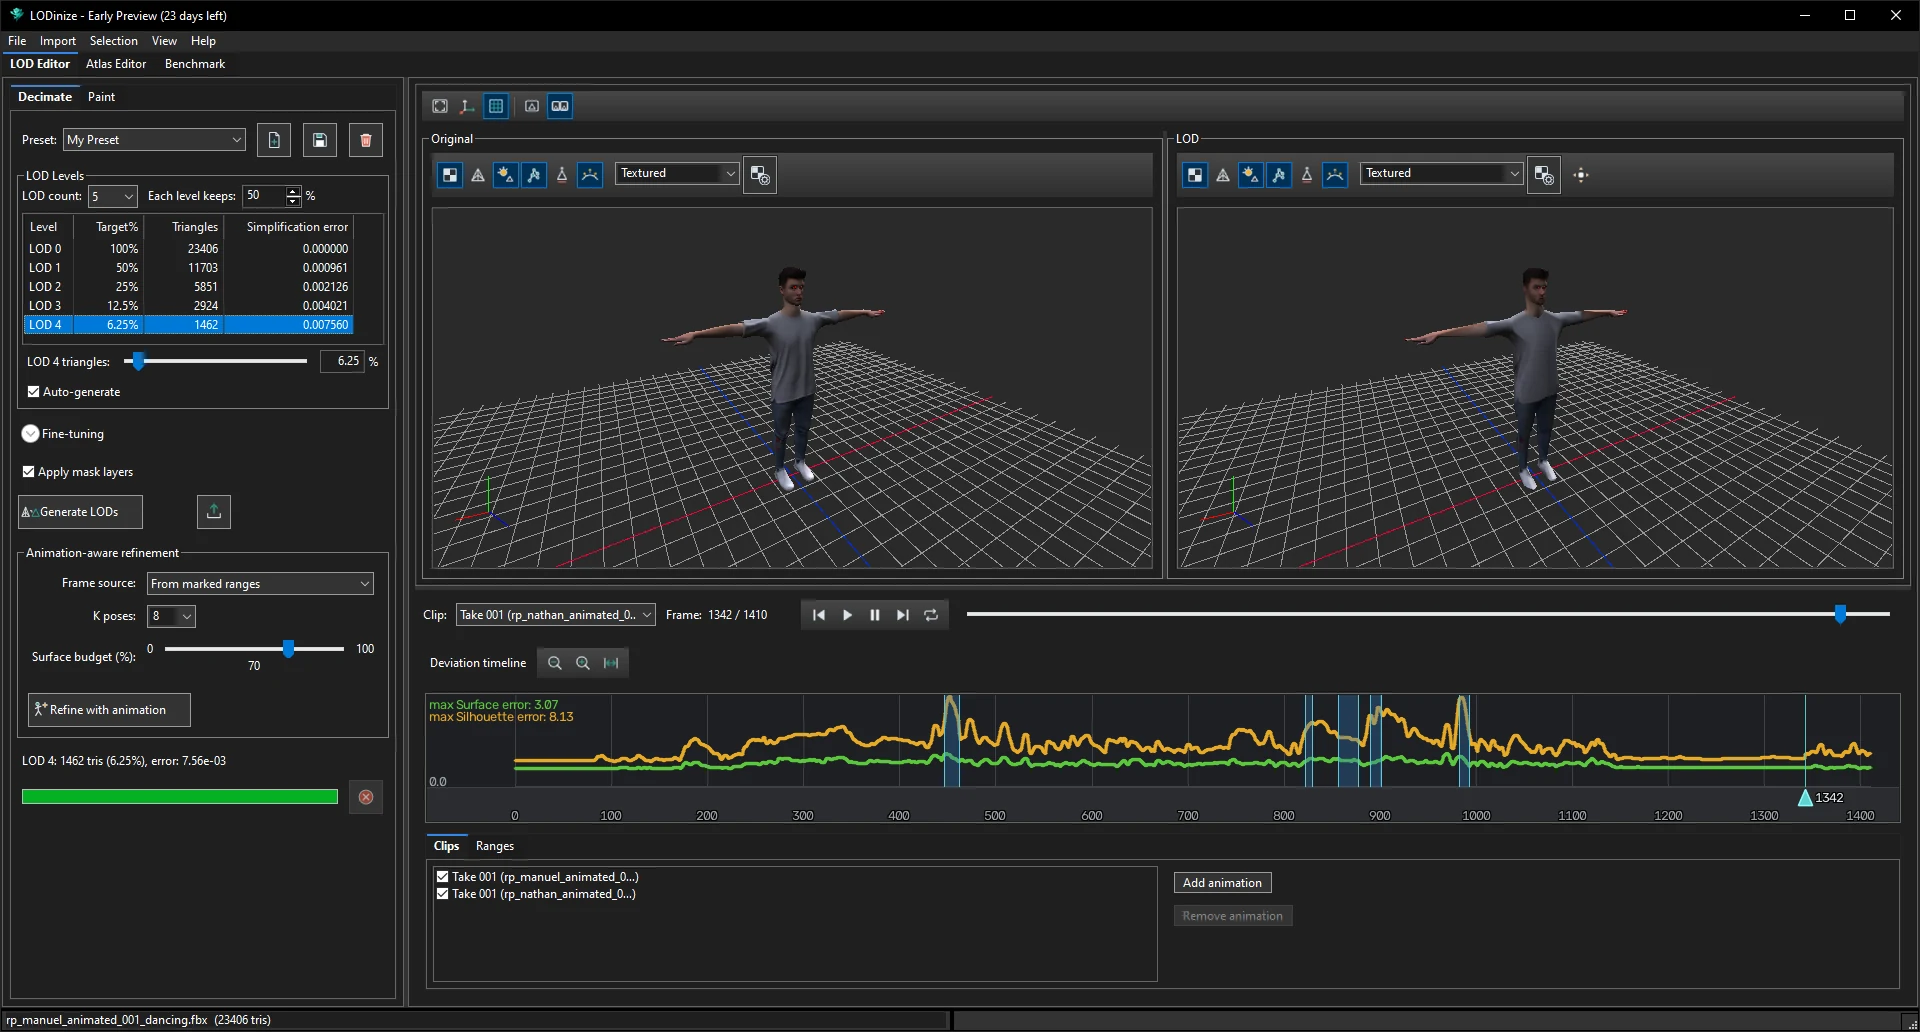
  3. Generate. Click Generate LODs. The table fills with the levels, their target percentage, triangle count and simplification error, and the deviation timeline is computed.
  4. Review. Select a level in the table to show it in the LOD viewport and in the timeline. Play the animation, or click a peak in the timeline to jump to the worst frame.
  5. Optionally refine. Refine with animation re-builds the LODs taking a set of animation poses into account, so they hold up better in motion. About refinement.
  6. Export. File > Export LODs (or the export button next to Generate LODs). Export options.
  7. Save the project so masks, clip choices and settings can be reused: File > Save Project.
Five LOD levels generated
After Generate LODs: five levels, and the error curves for the selected level.

Where to go next

Workflow: a new character from scratch
Load a mesh, add an animation from another file, refine, export, save.
Guide: finding where a LOD breaks
Use the timeline and the heatmaps to locate the problem frame and body part.
Tools & features
Everything in the application, grouped by purpose.