A project remembers the mesh file, the animation files, which clips are evaluated, the clip used for
playback, the LOD levels (every level's target) and the refinement settings, and your mask layers. Projects are stored as
.json files.
Command
Purpose
File > New Project
Start empty: no mesh, clips, ranges or masks. The LOD levels and options stay as they are.
File > Load Project / Open Recent
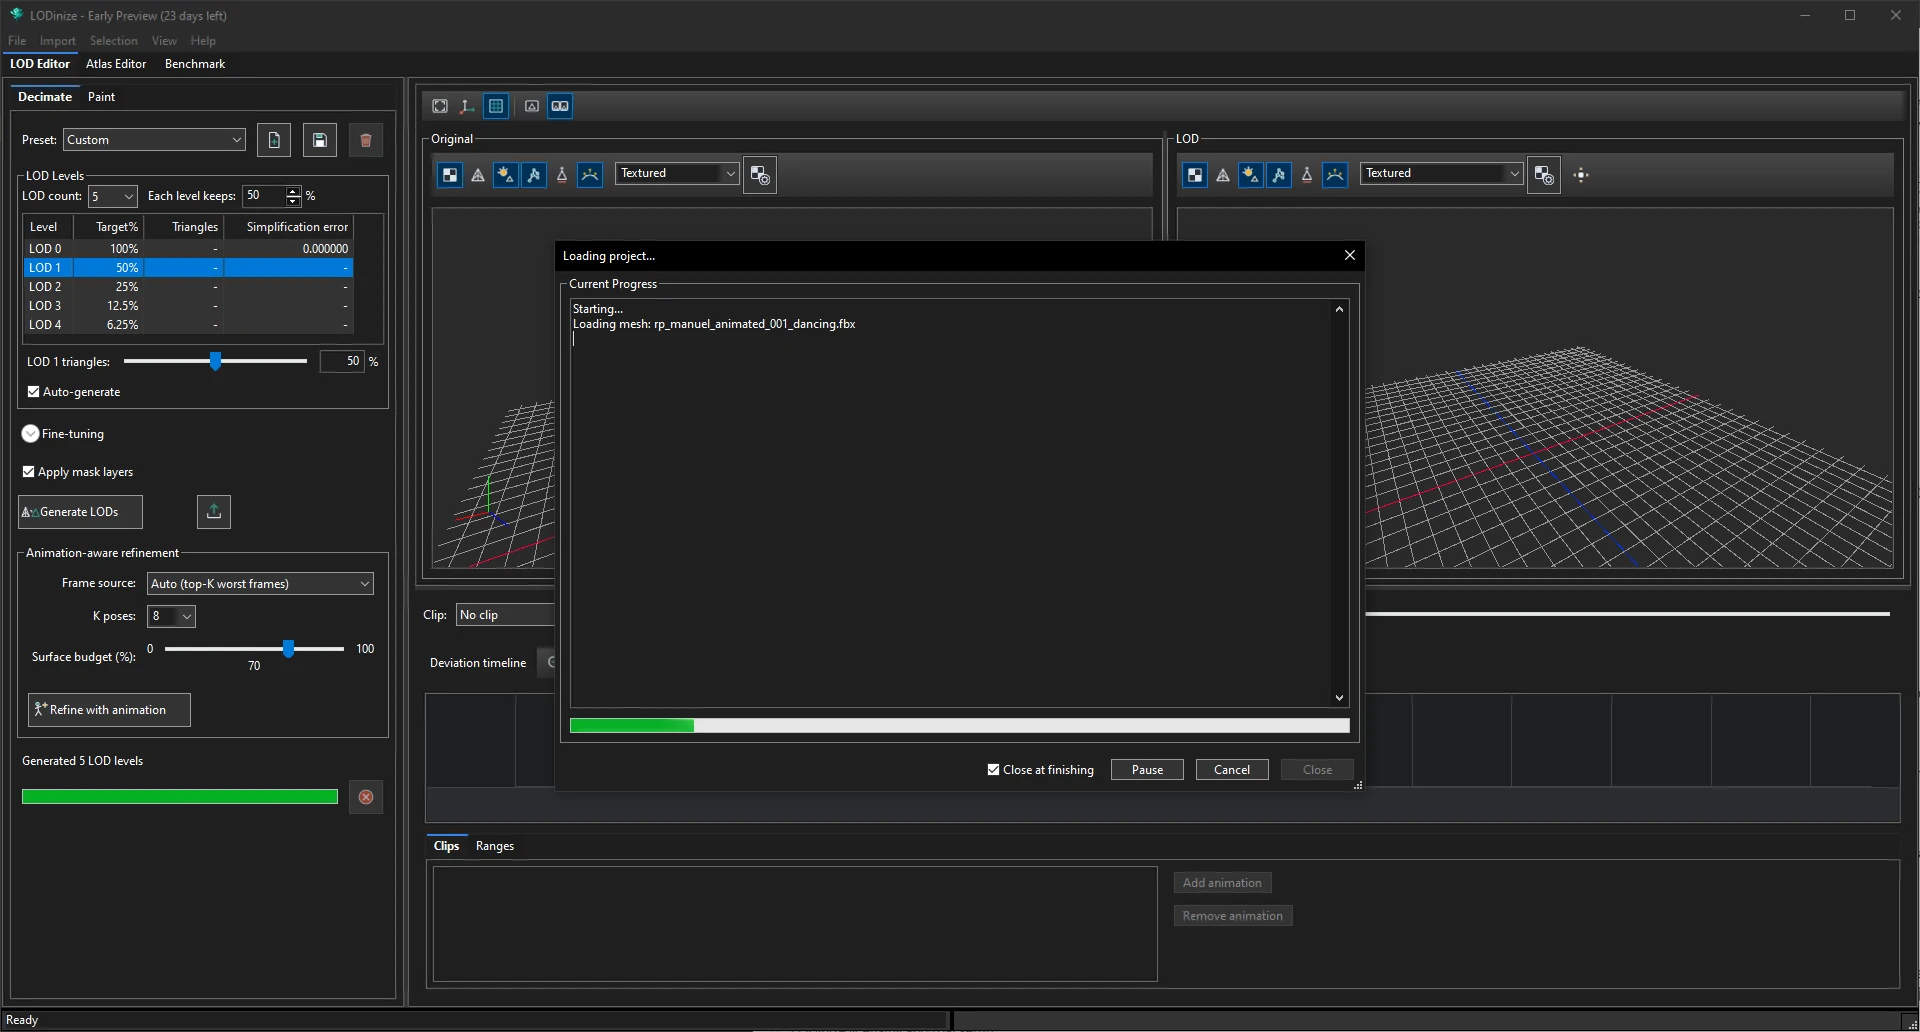
Re-open a project; the mesh, animations and masks are reloaded (a progress window shows the steps).
File > Save Project / Save Project As
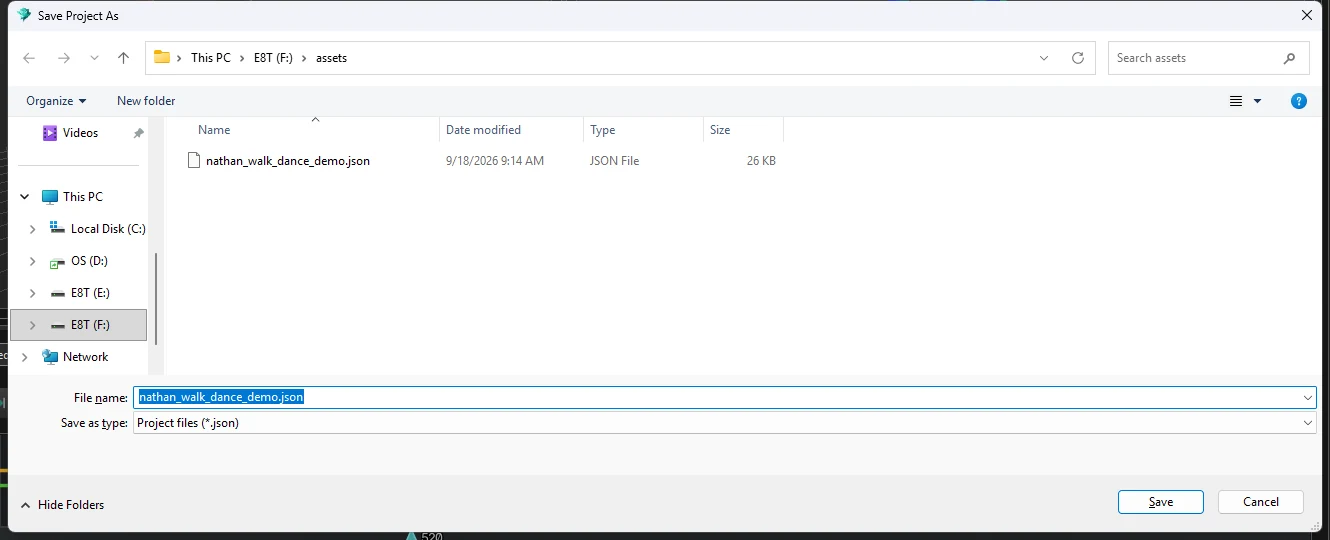
Store the current state. The save dialog opens in the folder you used last.
Loading a project.Save Project As.
Tip. Generated LODs are recreated from the saved settings; the table shows estimates
(~) until then. After loading a project, run Generate LODs (and Refine if you used it) to get the LOD
set back before exporting.
Load Mesh
Import > Load Mesh opens a file browser with a live preview, so you can
inspect a file before loading it.
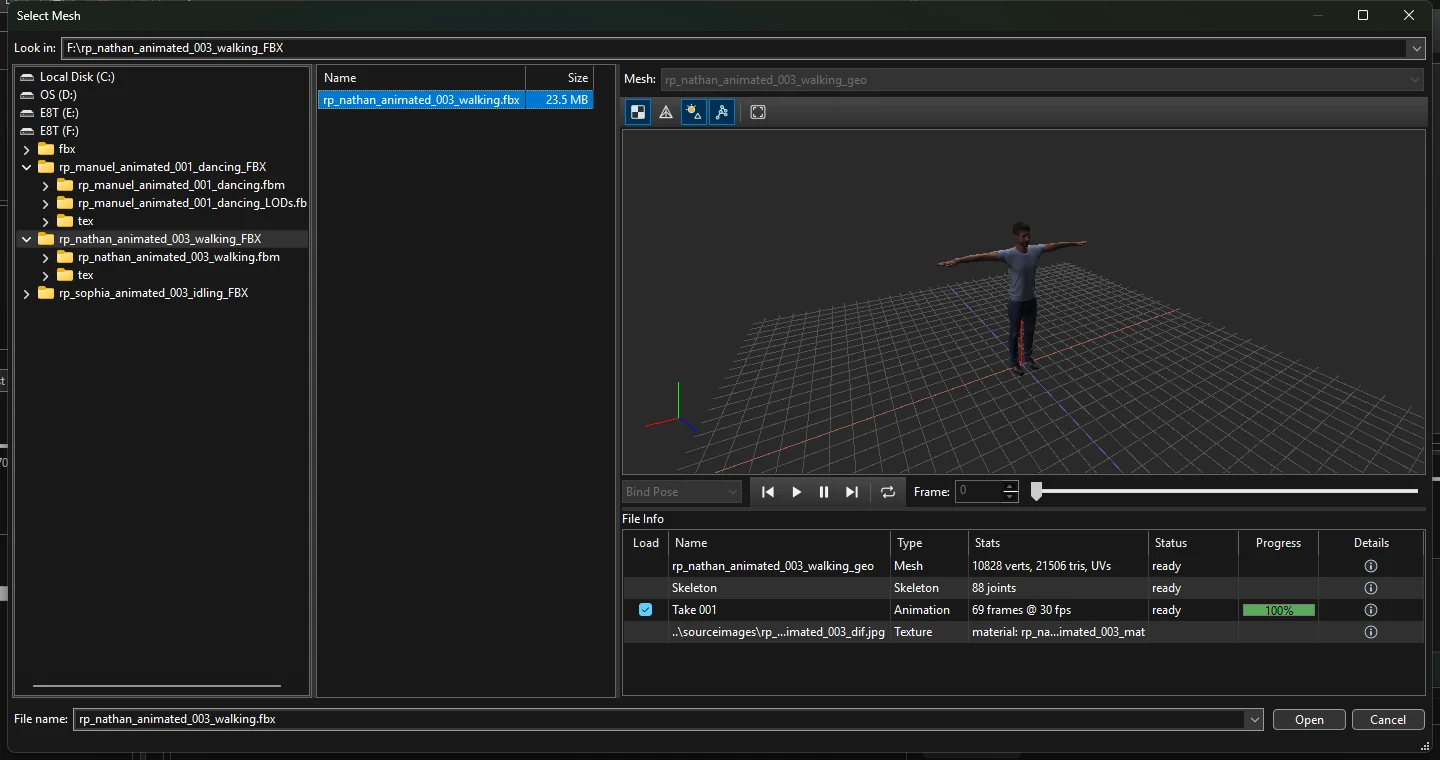
Select Mesh: folder tree, files, 3D preview with its own toolbar, and the File Info table.
Folder tree and file list — browse to the FBX file, or type a folder into
Look in. The refresh button next to it (or F5) shows files and
folders added or removed while the dialog is open. When you come back from another window, the dialog
checks the current folder and refreshes by itself if it changed. The Select Animation dialog works the
same way.
Mesh — if the file contains several meshes, choose which one to load.
Preview toolbar — texturing (off by default), wireframe, lights, skeleton, fit to view.
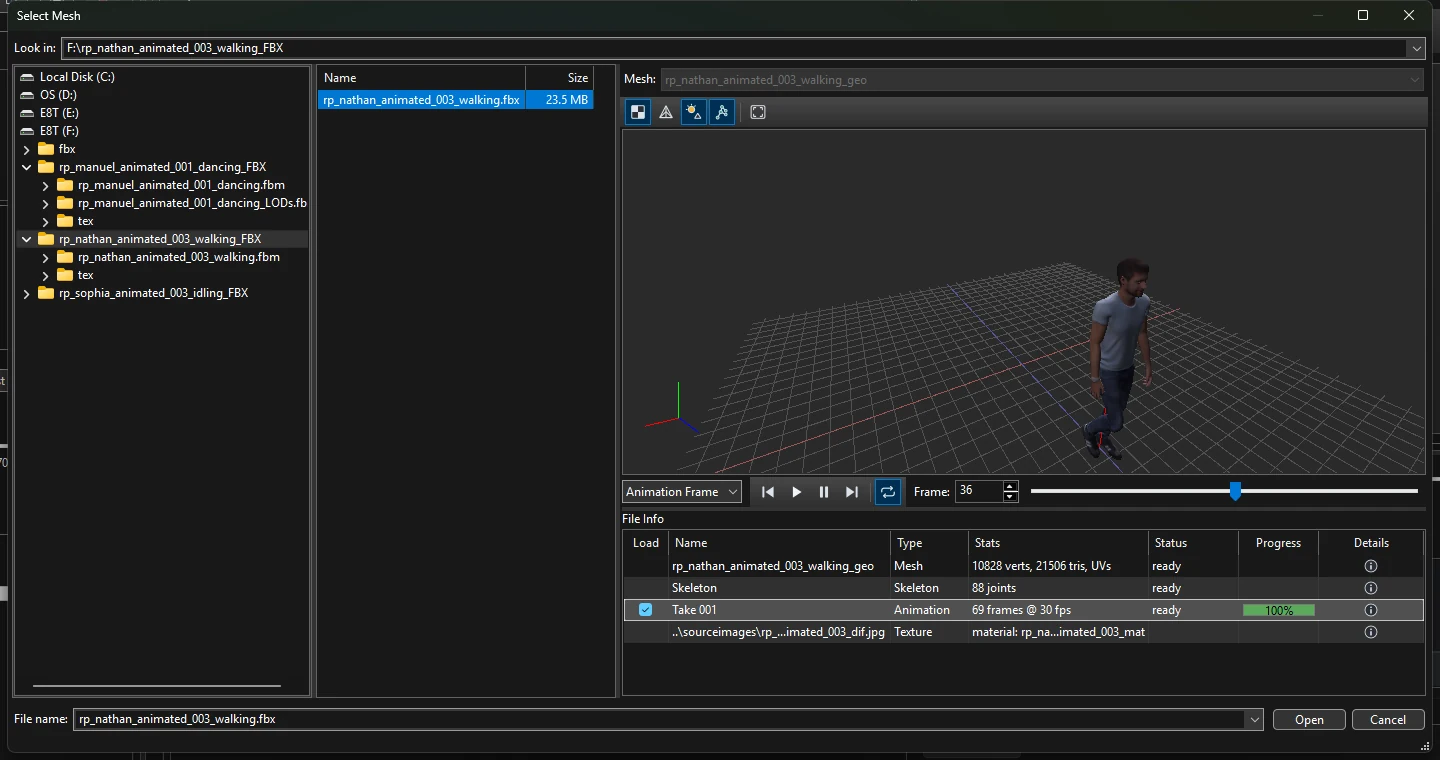
Playback bar — to preview an animation, first click its row in the File Info table,
then press Play. Until a row is selected the clip box shows Bind Pose.
File Info table — one row per item in the file: the mesh (vertices, triangles, UVs), the
skeleton (joint count), each animation (frames and frame rate) and the textures it references.
Load checkboxes choose which animations come in with the mesh.
The walk previewed with texturing on, after clicking the animation row.
File details (the i buttons)
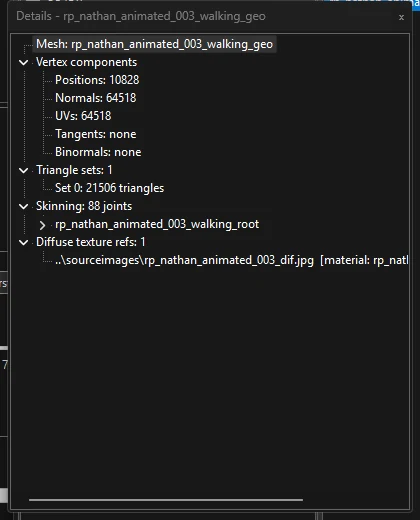
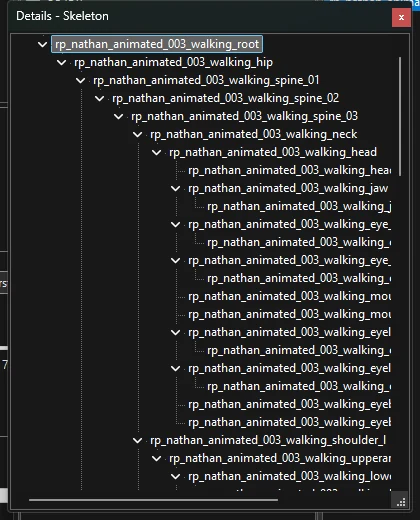
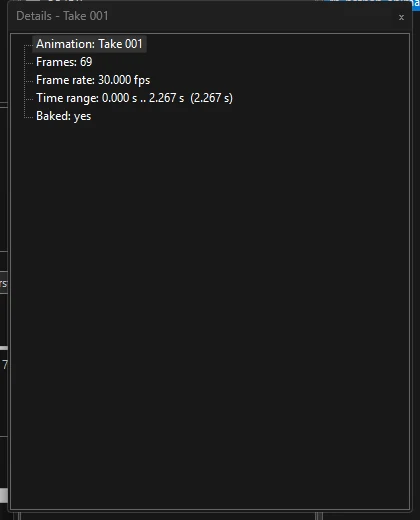
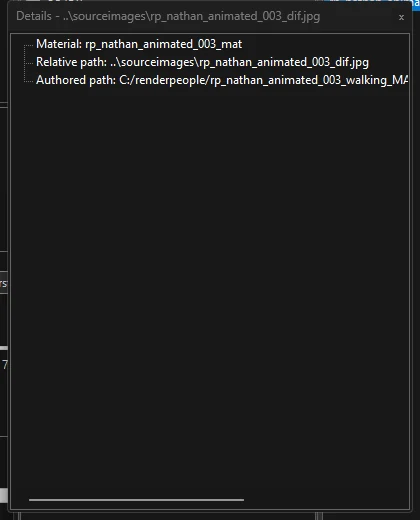
Each row of the File Info table has an i button in the Details column. It
opens a small window describing that item — a quick way to learn what an FBX actually contains
before you use it.
Mesh: vertex components (positions, normals, UVs, tangents), triangle sets, skinning root, texture references.Skeleton: the joint hierarchy. Select a joint and press numpad * to expand everything below it.Animation: frame count, frame rate, time range, whether it is baked.Texture: material, the path relative to the FBX, and the path it was authored with.
Load Animation
Import > Load Animation adds animations from another FBX to the loaded
character — for example a dance recorded on a different character with a compatible skeleton.
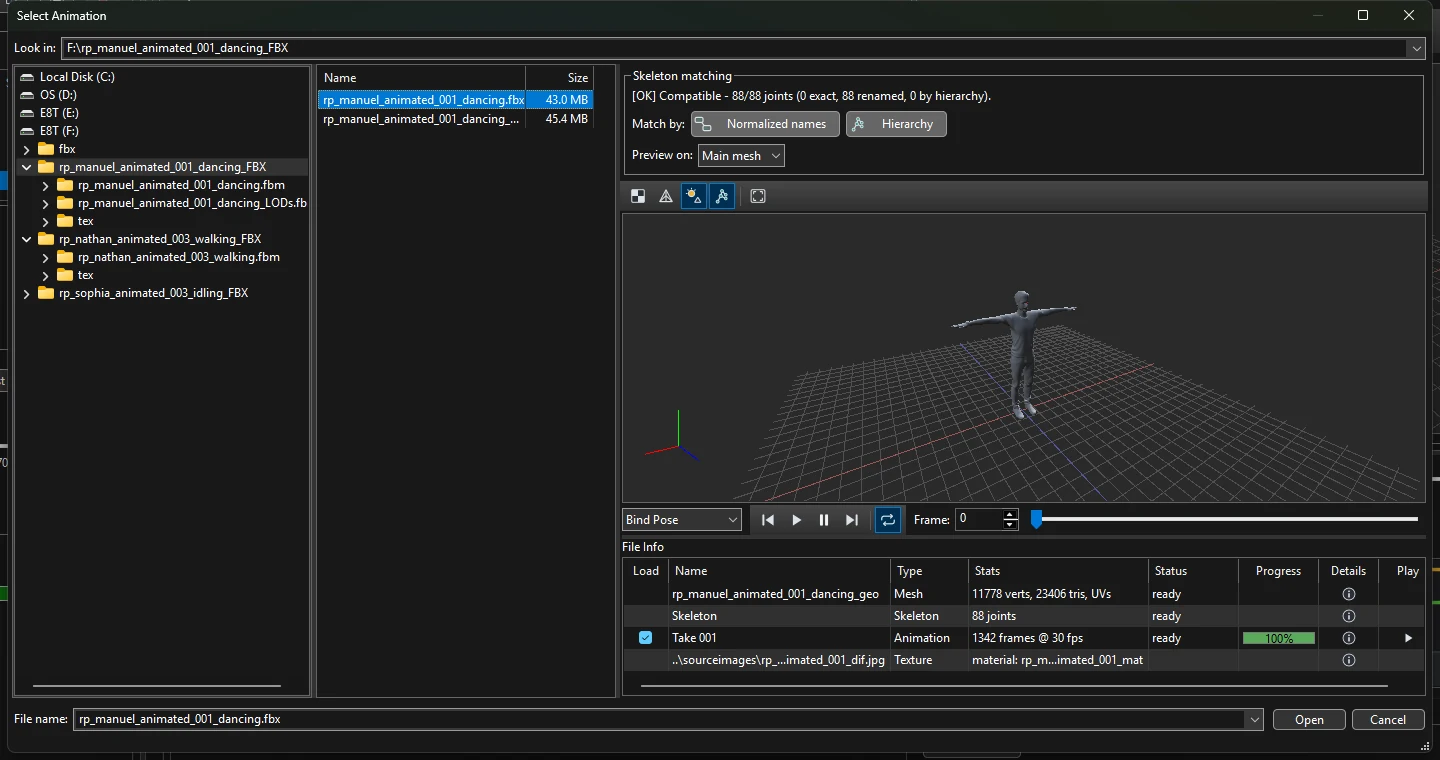
Select Animation: the Skeleton matching panel reports whether the file's skeleton fits your character.
Skeleton matching
The status line reports how many joints matched and how: exactly, after name normalisation
(renamed — e.g. joint names carrying a different character prefix), or by
hierarchy position.
Match by: Normalized names or Hierarchy.
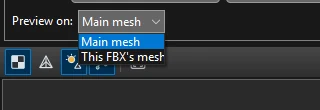
Preview on: play the animation on your loaded character
(Main mesh) or on the mesh stored in the animation file
(This FBX's mesh). Comparing the two is a quick retargeting check.
The same frame played on the loaded character (left) and on the animation file's own mesh (right).
File Info table
As in Load Mesh, plus a Play column (▶) on animation rows. The
Load checkbox is ticked by default — untick clips you do not want to import.
After loading. A newly added clip appears in the Clips list
unticked, so it is not yet part of the error evaluation. Tick it (or pick it in the
Clip dropdown) and run Generate LODs again before refining —
see A new character from scratch.
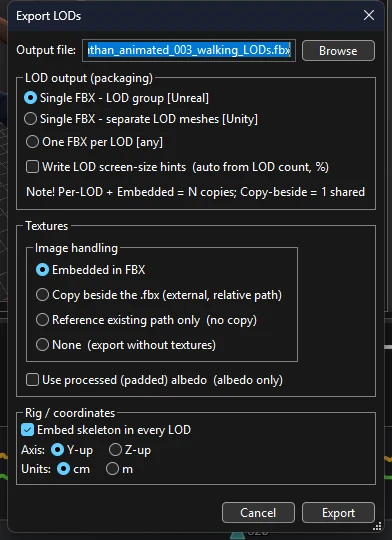
Export LODs
File > Export LODs, or the export button next to
Generate LODs.
Export options.
Group
Options
LOD output (packaging)
Single FBX – LOD group (as Unreal expects),
Single FBX – separate LOD meshes (as Unity expects), One FBX per LOD.
Optionally write LOD screen-size hints derived from the LOD count.
Textures
Embedded in FBX, Copy beside the .fbx (external, relative path),
Reference existing path only, or None. Use processed (padded) albedo writes the
atlas repaired in the Atlas Editor.
Rig / coordinates
Embed skeleton in every LOD, axis Y-up / Z-up,
units cm / m.
Per-LOD files combined with embedded textures store one copy of the texture per LOD; copying the
texture beside the FBX stores it once.
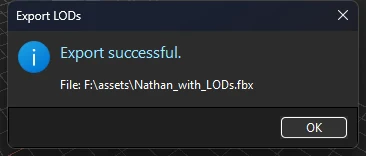
Check the result. Open the exported file in your engine or DCC tool and confirm
that textures resolved as expected before handing it on.