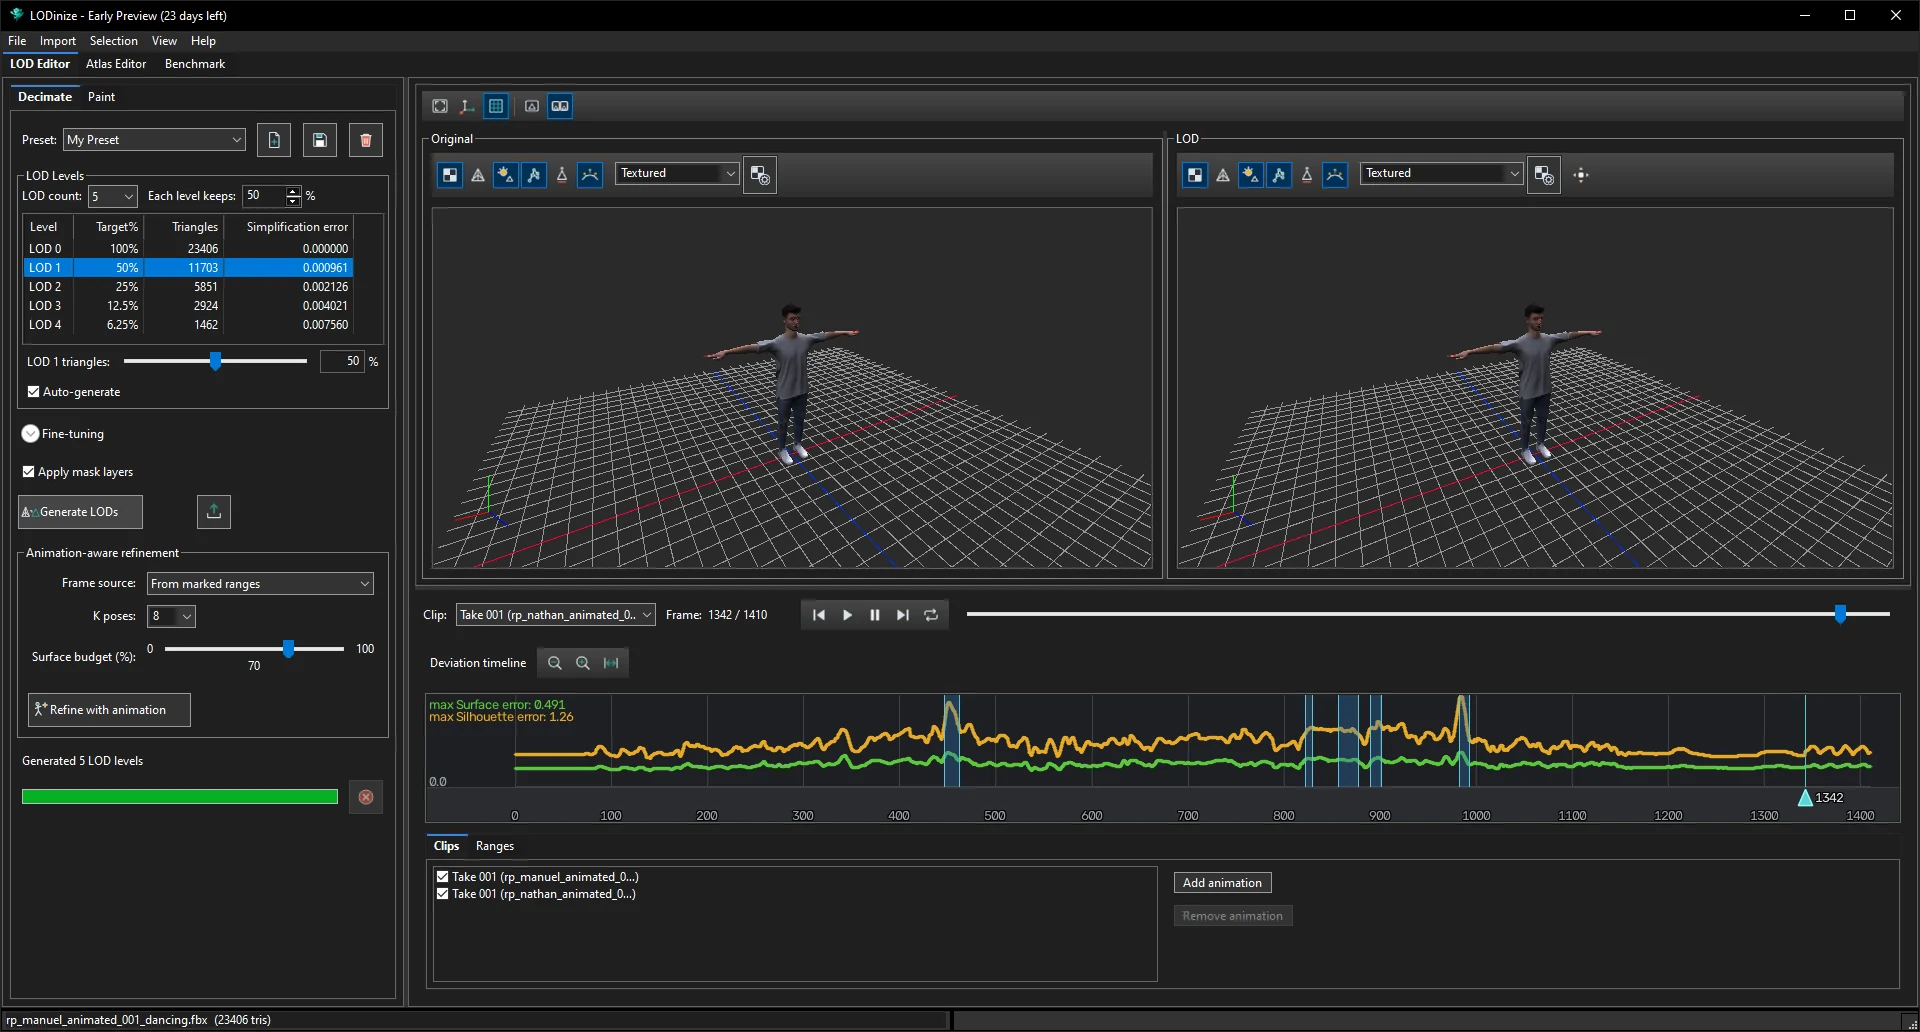
Example: a dancing character whose project already has two animation clips, marked ranges
and mask layers. Goal: a checked, refined LOD set exported for the engine.
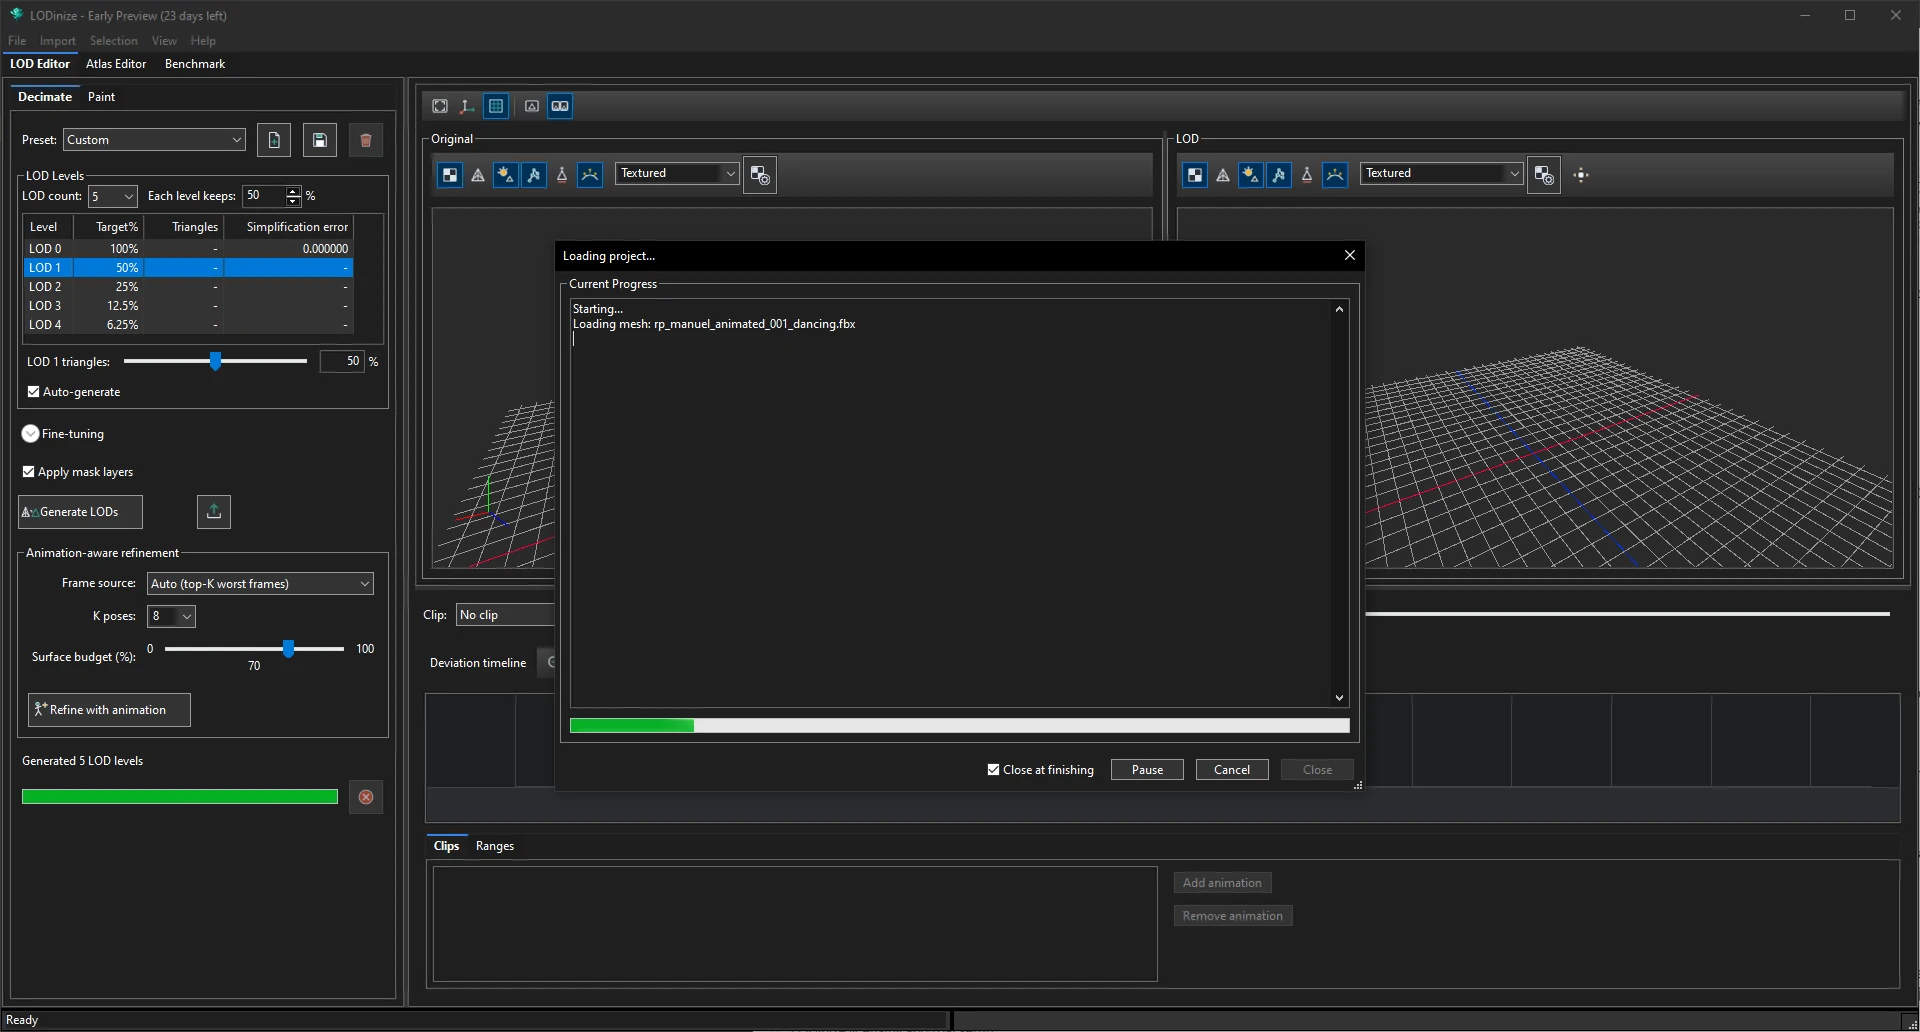
Open the project.File > Open Recent (or Load Project).
A progress window lists what is being loaded; the mesh, clips, ranges, masks and LOD levels come back. The
table shows estimated triangle counts (~) until you generate.
Generate. Check LOD count and the preset, keep Apply mask layers
on, and click Generate LODs.
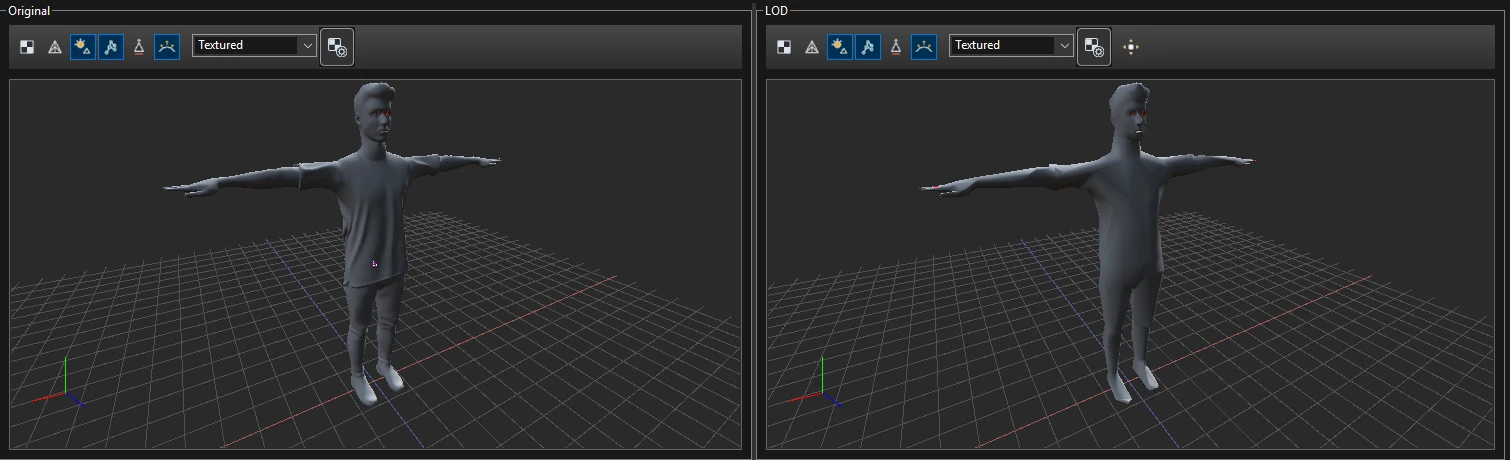
Look at the coarsest level first. Select LOD 4 in the table. The LOD viewport and the deviation
timeline switch to it. Zoom in on the model and compare with the original.
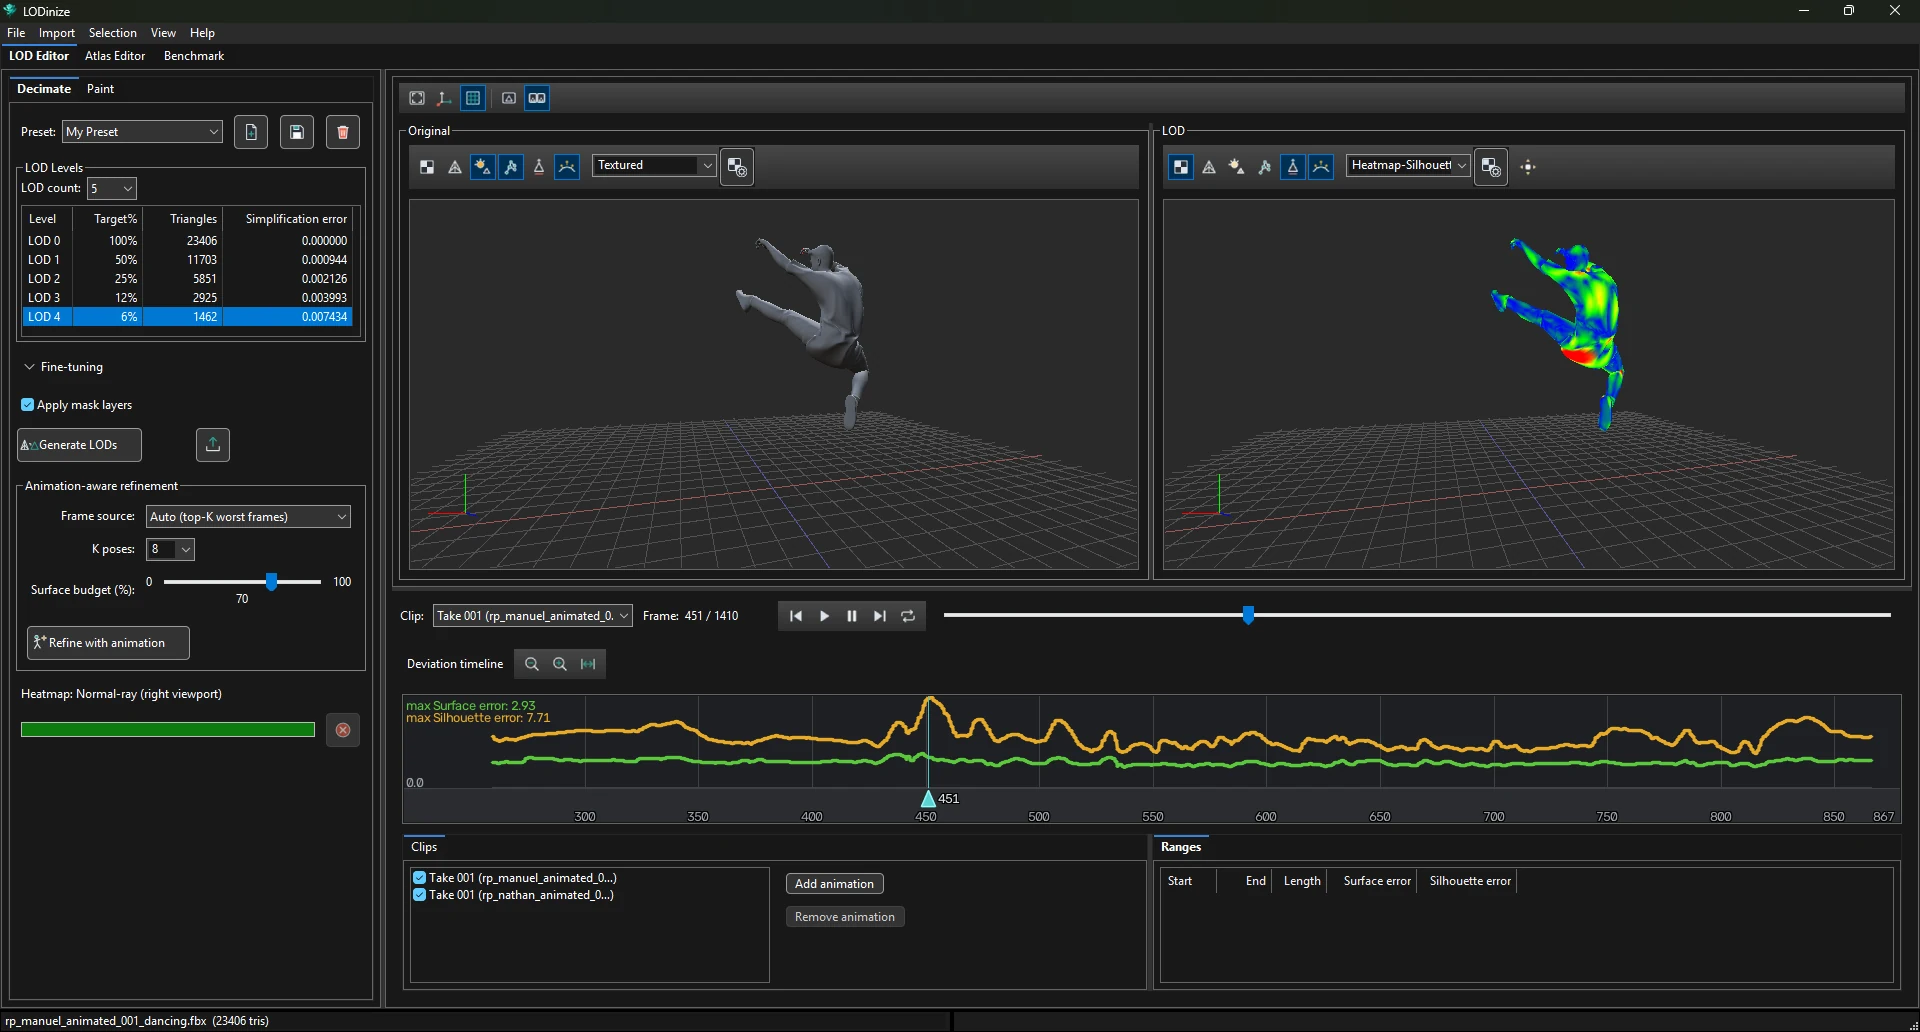
Find the worst moment. Click the highest peak in the timeline, zoom in and click it more
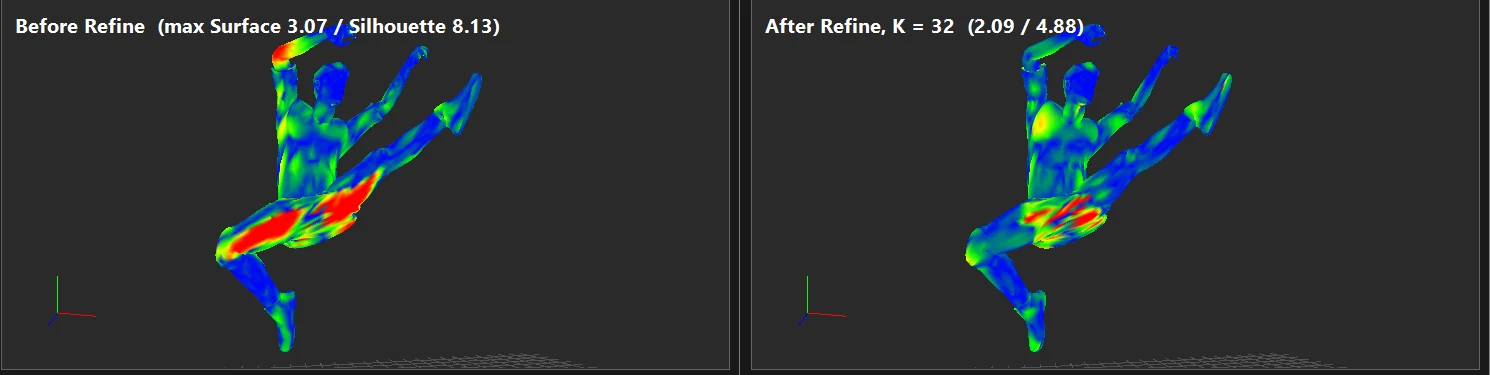
precisely. Switch the LOD viewport to Heatmap – Silhouette error to see which
part of the body causes it. More in the guide.
Refine. With LOD 4 still selected, choose a Frame source and
K poses and click Refine with animation. Compare the maximum
errors in the timeline header before and after; try another setting if you want to compare.
Optionally repair textures for the low levels in the Atlas Editor —
Filling texture gaps.
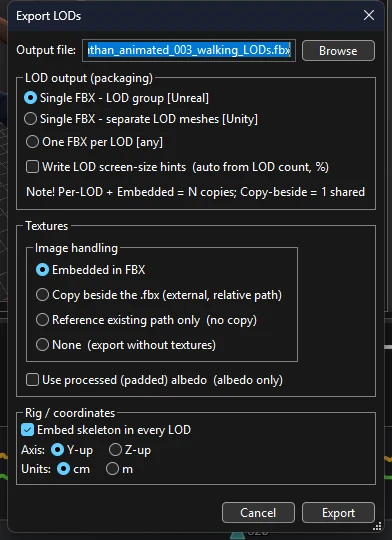
Export with File > Export LODs: choose the packaging your engine expects,
how textures are handled, and axis/units.
Save the project so the settings are there next time.
Variations. If the project's clips or ranges changed, generate again before refining.
If you only care about one clip, untick the others — the timeline and refinement then cover only
the ticked ones.