The Atlas Editor shows how the character's triangles are laid out on its texture, per LOD level, and repairs the texture where simplified triangles would sample areas the original never used.
When triangles are merged, the outline of a UV island can move outwards. The coarser triangle then reads texture pixels just outside the original island — often empty background. In the game this shows up as wrong-coloured seams on lower LODs. The Atlas Editor makes these areas visible and fills them from the surrounding texture.
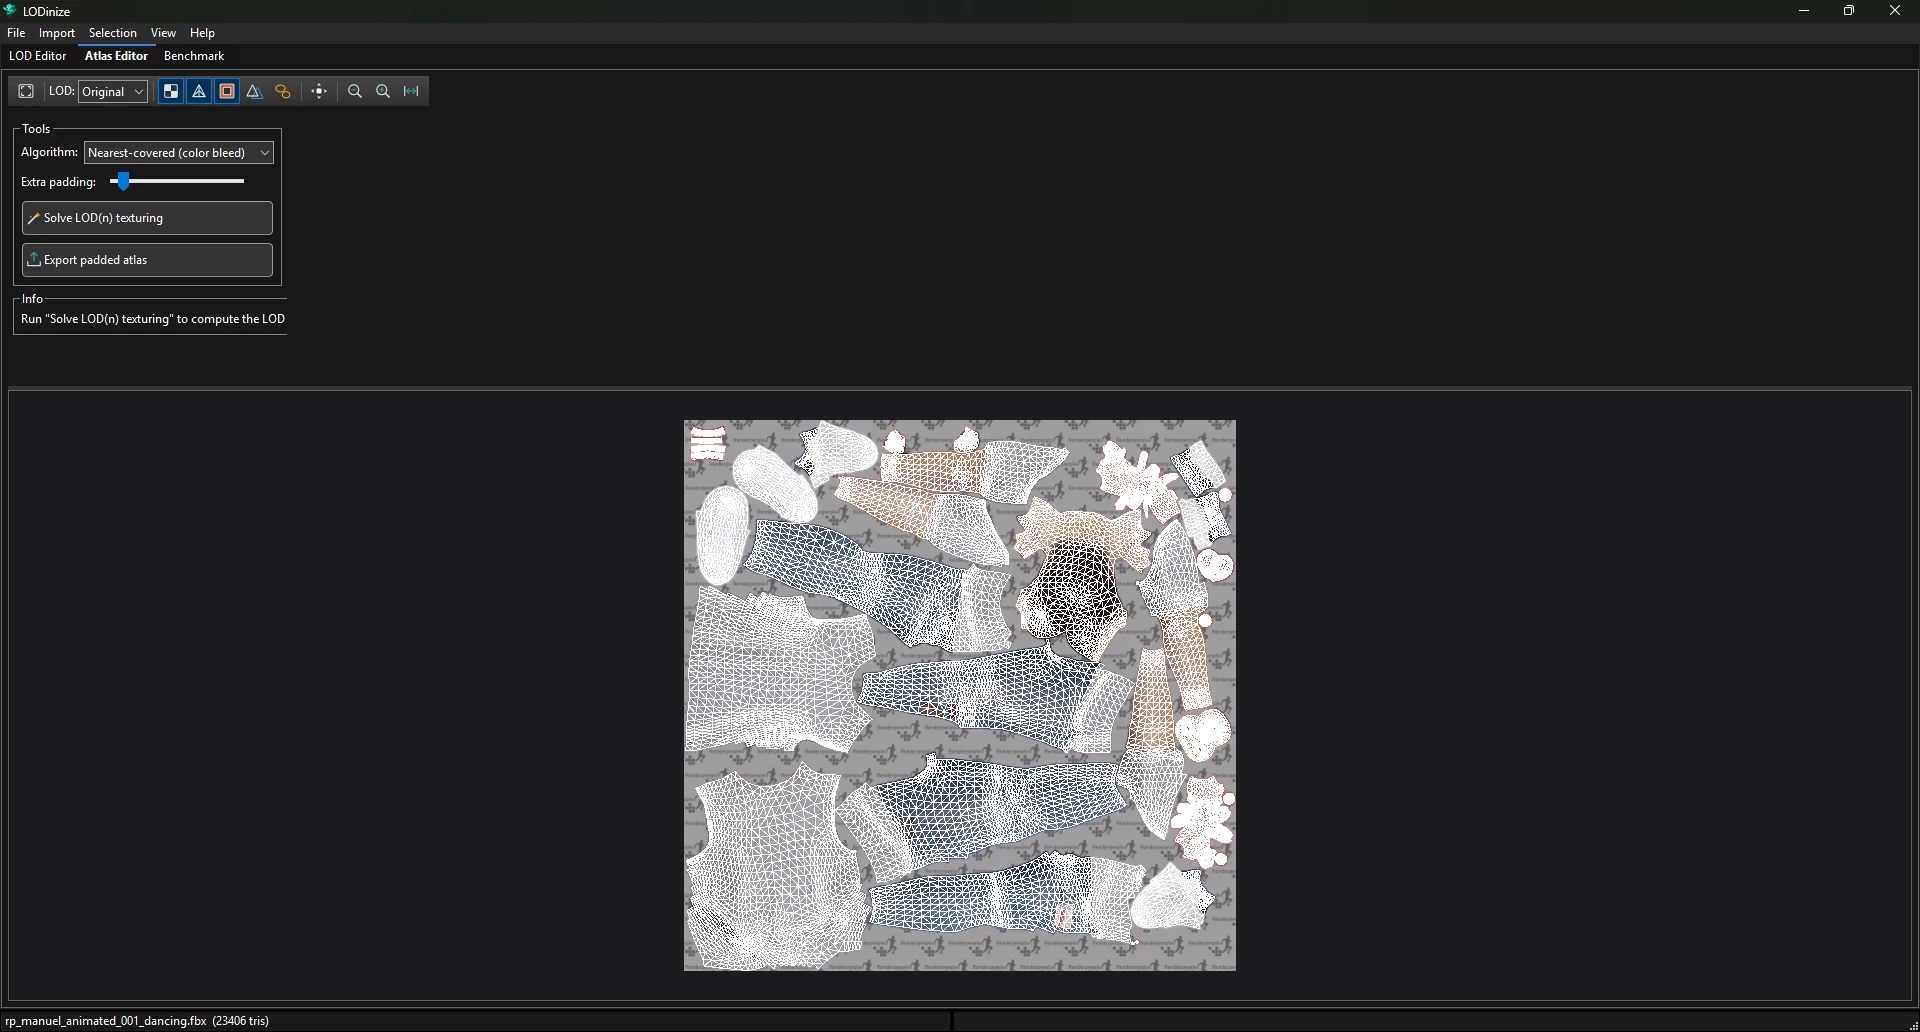
| Toolbar item | Purpose |
|---|---|
| Fit | Fit the whole atlas into the view. |
| LOD | Which level's UV layout to show: Original or LOD 1…n. Independent of the LOD shown in the LOD Editor. |
| Textured | Show the texture under the layout. |
| Wireframe | Show the triangles of the chosen level. |
| Difference | Highlight texture areas used by the chosen LOD but not by the original (bright green). |
| LOD0 overlay | Draw the original's island outlines (yellow) on top of the chosen level. |
| Island borders | Outline the UV islands. |
| Padded | Show the repaired (padded) texture instead of the original. |
| Zoom out / Zoom in / Reset | View controls. The mouse wheel zooms and right-drag pans as well. |
Clicking in the atlas selects islands or triangles when selection is enabled — see Selection & mask painting.
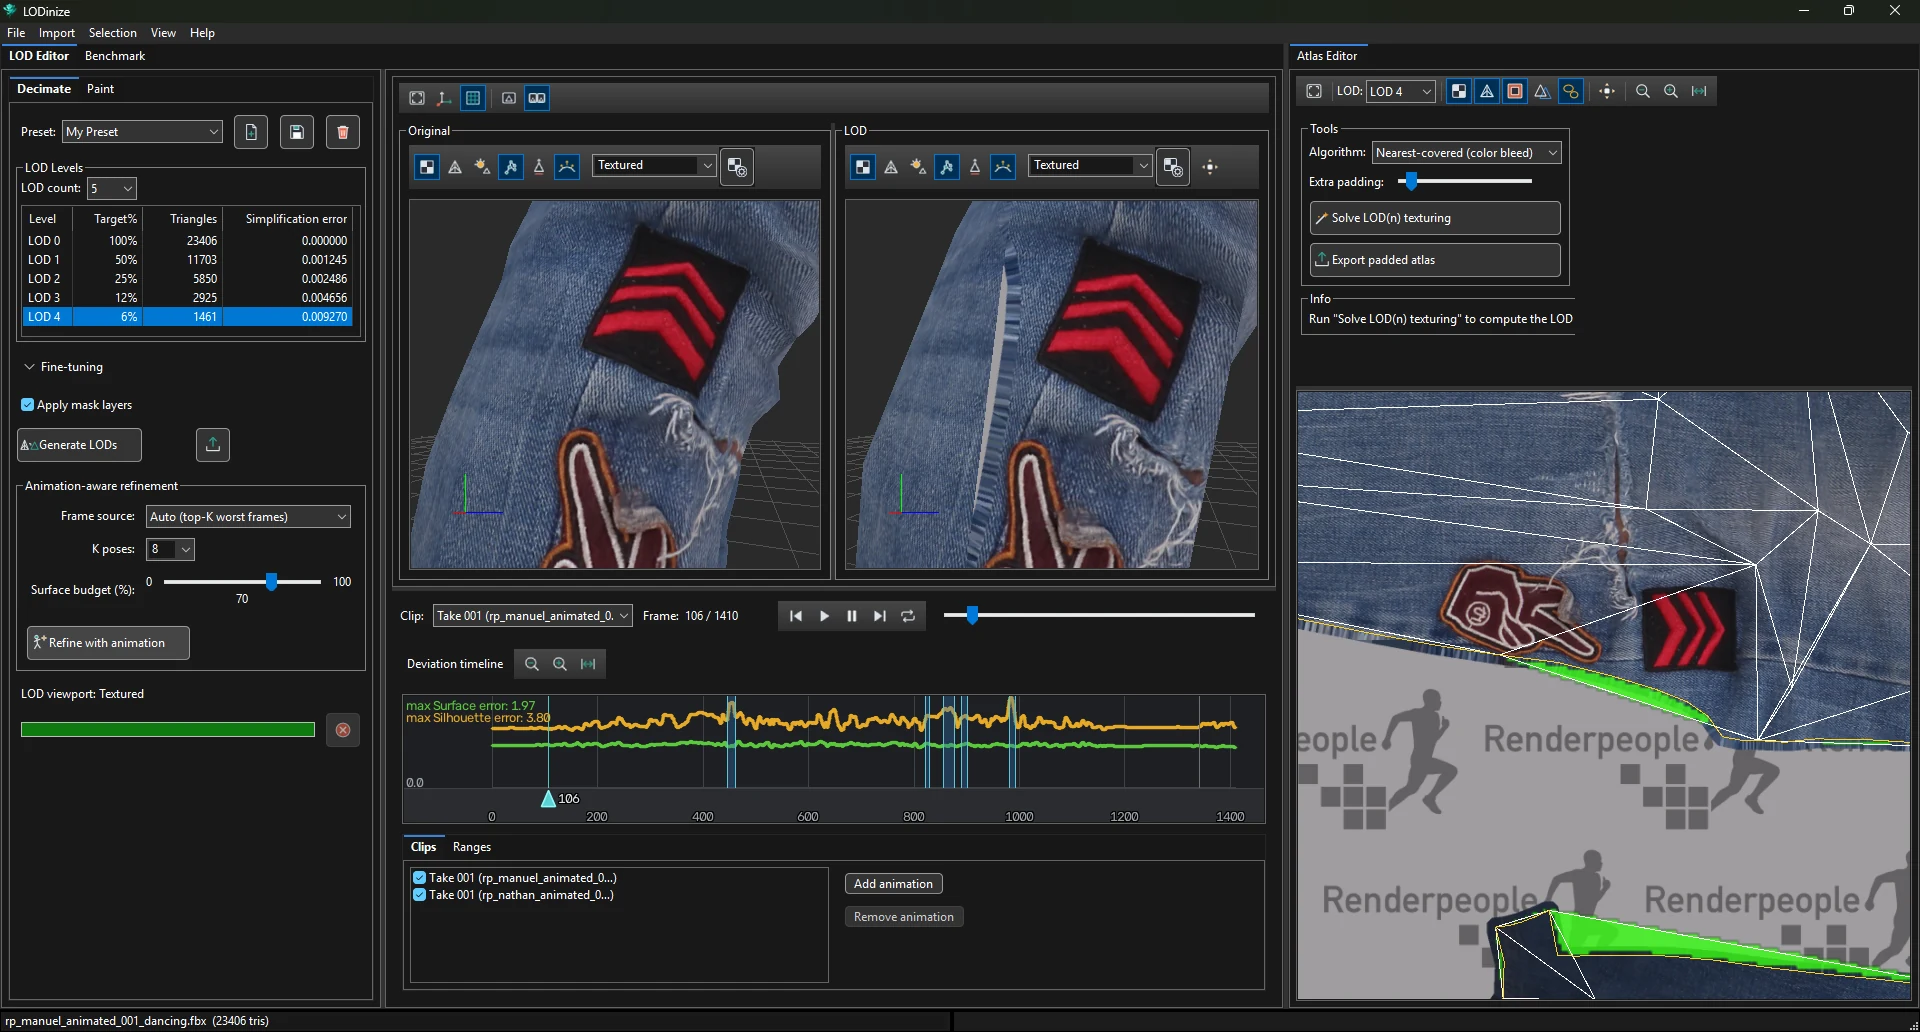
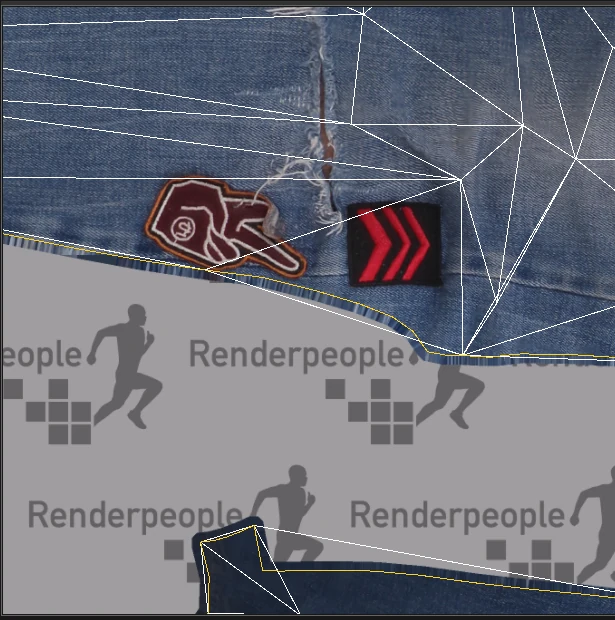
The Tools panel fills the uncovered areas. Choose an Algorithm, optionally some Extra padding, and click Solve LOD(n) texturing. The Info panel reports how many texels of the LOD sampled background before and after.
| Algorithm | How it fills | Character of the result |
|---|---|---|
| Nearest-covered (color bleed) | Extends the nearest painted pixel outwards. | Covers everything, in a wider band; edges can look streaky up close. |
| Surface re-projection | Looks up the colour the original surface has at that spot. | A narrow, clean band that continues the texture; can leave a tiny remainder uncovered. |
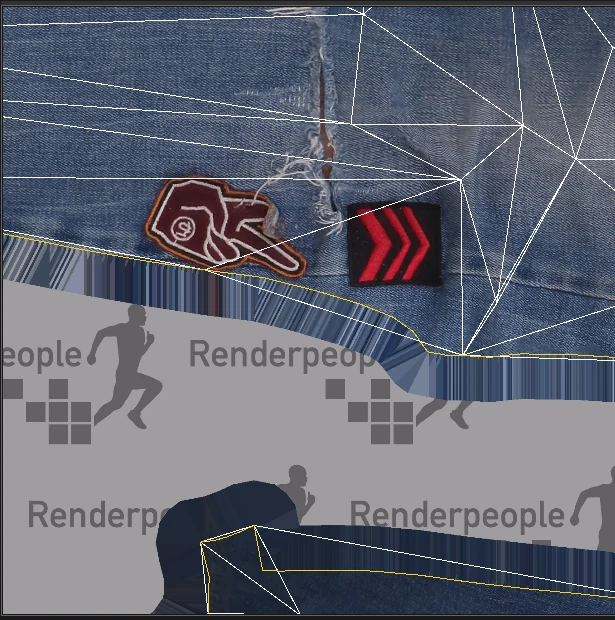
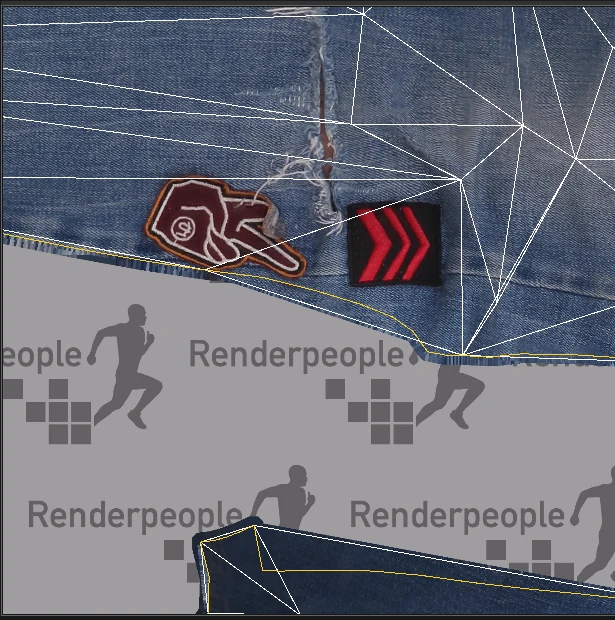
The percentage alone does not tell the whole story — compare the two results visually at the zoom level your players will see.
Export padded atlas writes the repaired texture as an image file. To include it in the exported LODs instead, tick Use processed (padded) albedo in the Export LODs dialog. The LOD viewport can preview it with its Padded button.
Guide: Filling texture gaps on low LODs.
